Disney Holiday Glitter Art Plus Free Printable
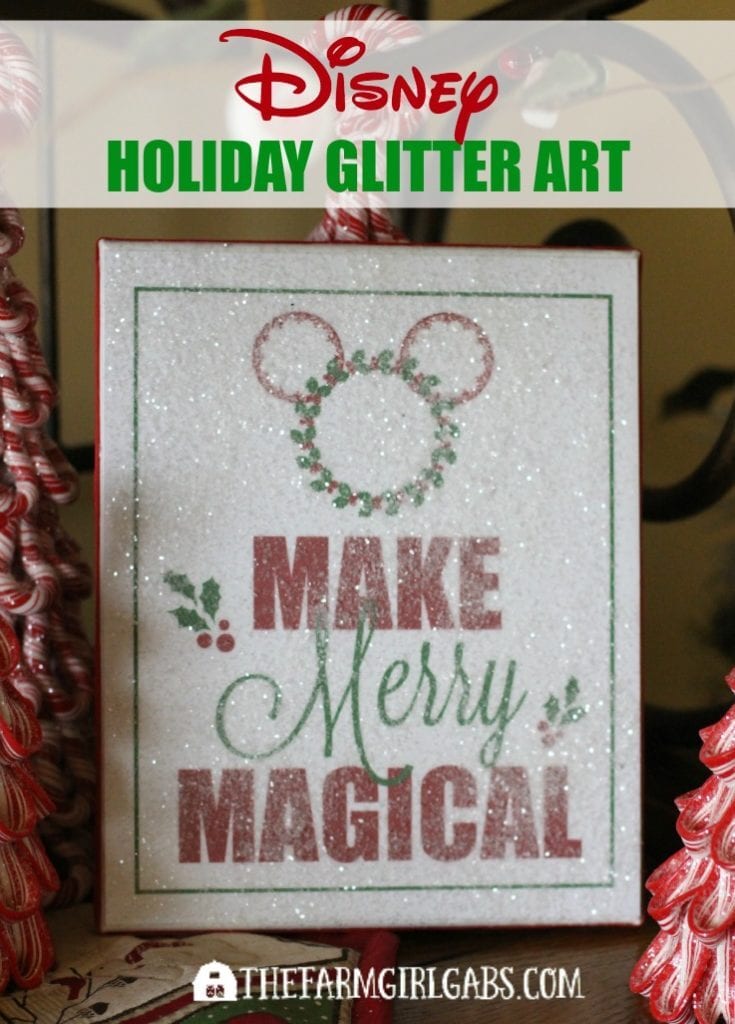
Add some magical sparkle to your holiday decor this year with this Disney Holiday Glitter Art.
Today’s post is brought to you by the letter D. D as in Disney. Yep, it’s not Christmas in my house without a little touch of Disney somewhere, whether an ornament on the tree or a fun festive decoration. It’s also not the holiday season without a touch of glitter. I love glitter. It’s fun. Even when it gets in your hair, on your face and clothes. I just love making things sparkly!
I decided to take this month’s free printable one step further by turning it into this Disney Holiday Glitter Art. So, today I am sharing with you both some Disney and glitter. This Disney Holiday Glitter Art is and easy and fun project. Not into the crafty stuff? That’s OK. I also included a free printable that your can just copy and frame. No glittery mess needed.
If you just want to copy, print and frame this printable without all that glittery stuff, then just click on the graphic below to download.

If you are feeling crafty, and you want to make this glittery masterpiece, then here is what you will need.
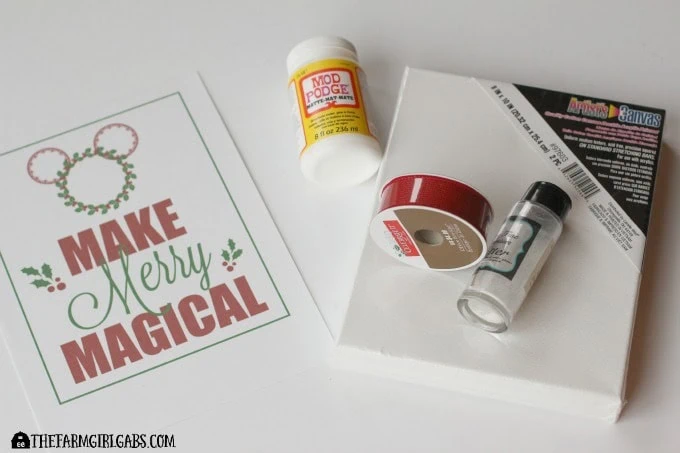
Disney Holiday Glitter Printable
8″ x 10″ Stretched Canvas
Mod Podge Matte Finish Glue
Paint Brush
White Glitter
Spray Adhesive
Holiday Ribbon
All-Purpose Glue
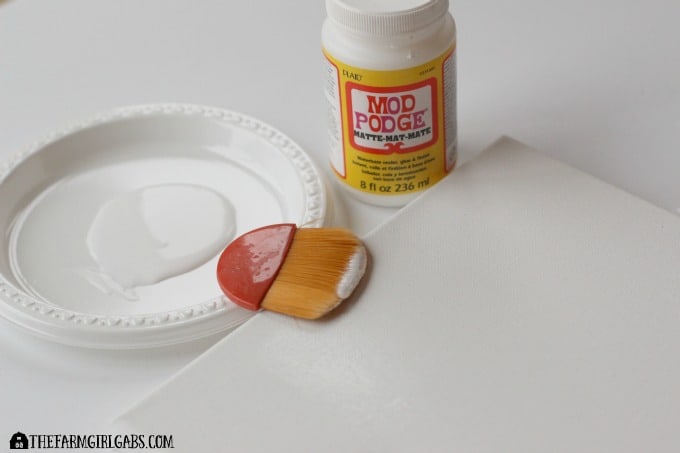
You first need to trim the printable to an 8 x 10 size. You can use scissors or a paper trimmer if you have one. Then, spread a layer of Mod Podge over the canvas. Adhere the printable to the canvas. Make sure you press all the bubble out. Apply two more coats of Mod Podge over top, allowing the Mod Podge to dry in between each coat.
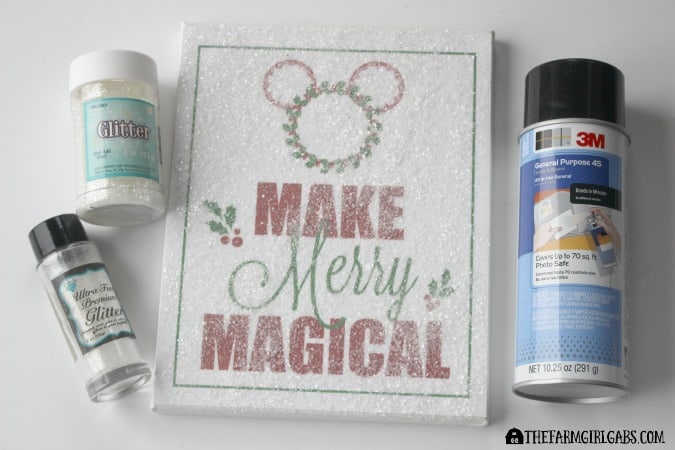
Now to the most important step – the glitter. Well, all the steps are important. I just happen to like this step the best. It’s time to add some magical sparkle. Before you proceed, make sure you have a well-covered surface. Or else, you will have glitter everywhere. Spray your masterpiece with some adhesive. Sprinkle glitter over the entire canvas. You can repeat this if you wish. I did this several times to make my Disney Holiday Glitter Art extra sparkly.

I then glued a nice holiday ribbon all the way around the frame to finish it off.

This Disney Holiday Glitter Art has a perfect home on my buffet. It has just the right amount of sparkle. It is the perfect holiday decoration to spread some Disney cheer.
Happy crafting!
This post contains affiliate links. See my disclosure policy for details.


One Comment