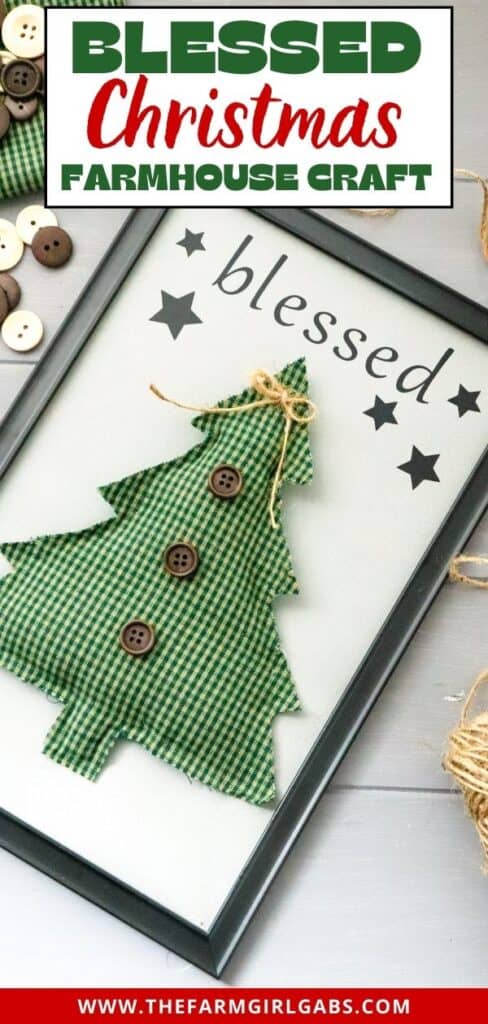
Blessed Christmas Tree Sign


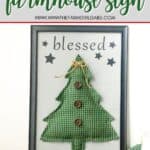
Add a rustic touch to your DIY Christmas decor. This no-sew Farmhouse style Blessed Christmas Tree Sign is an easy Cricut craft.
This post may contain affiliate links. We may receive a commission if you click and purchase something. Please see our disclosure policy for more details.
The Christmas season is in full swing and it is coming down to the wire. This year has been so different with the pandemic affecting all of us. Since I have been limiting my time “out and about” to just working at our farm and running only the necessary errands, my holiday decor is a lot of DIY crafts. I love that of course. This DIY Blessed Christmas Tree Sign is an easy Christmas craft you can make too.
If there is one thing I learned during this past nine months, it’s that home is really a special place. Yes, I absolutely miss gathering with friends, family and visiting Disney, but our safety is a priority now. So this holiday season, I am taking extra time to make our holiday home feel more special.
This blessed Christmas tree craft is a easy no-sew craft project. Actually it’s a no-sew Dollar Tree craft. You can find most of the materials for this dollar store craft at your local dollar store. The only thing I did not get there was the fabric.
Check out this cute Christmas Gnome Craft
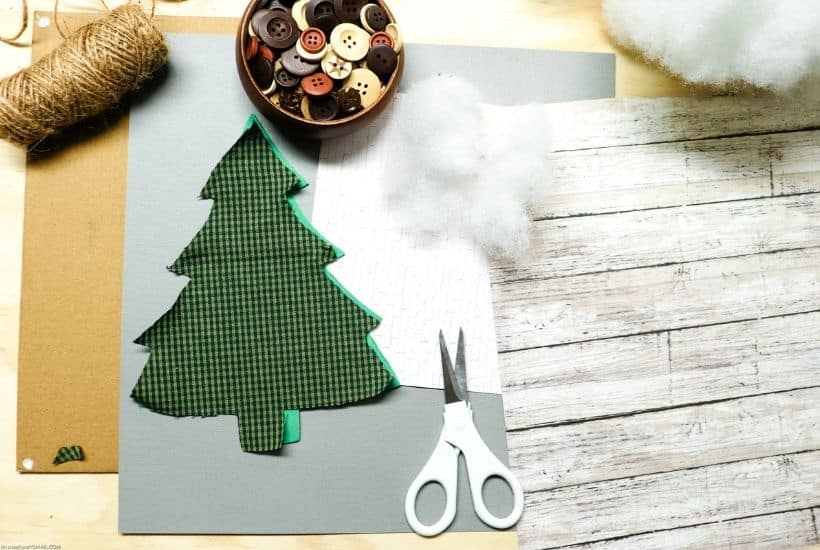
Supplies Needed To Make A DIY Blessed Christmas Tree Sign Craft
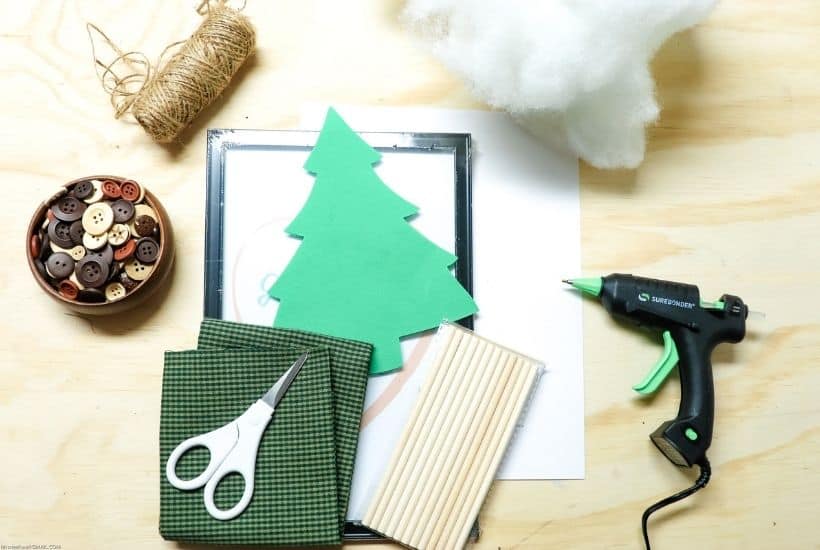
8.5 x 11 frame: I found mine at the dollar store
Foam, cardstock, or felt tree cutout: dollar store or print online
Blessed SVG File – download here
Dowels (optional if you’d like to create a wooden tree trunk, but not necessary)
Fine tip sharpie or fabric marker
Scissors
How Do I Make A Farmhouse Style Christmas Tree Sign?
Open frame and remove glass. Trace the tree onto fabric with a fabric marker or fine tip sharpie.
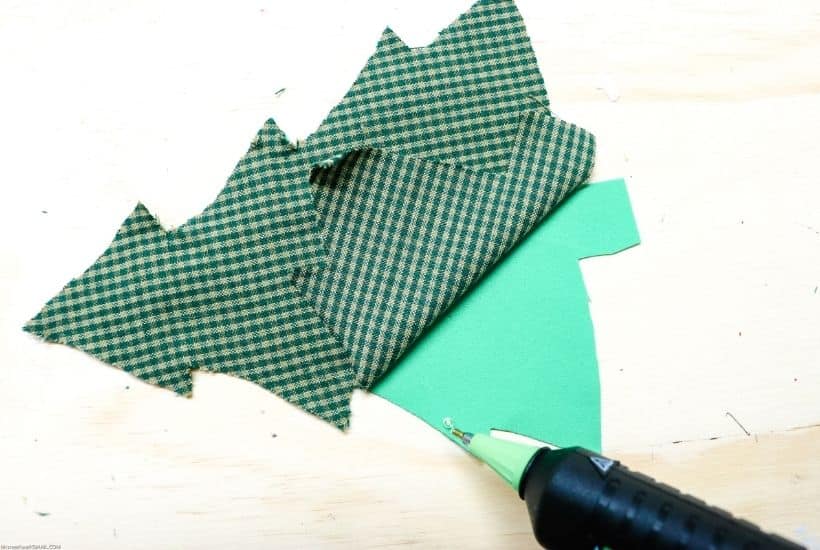
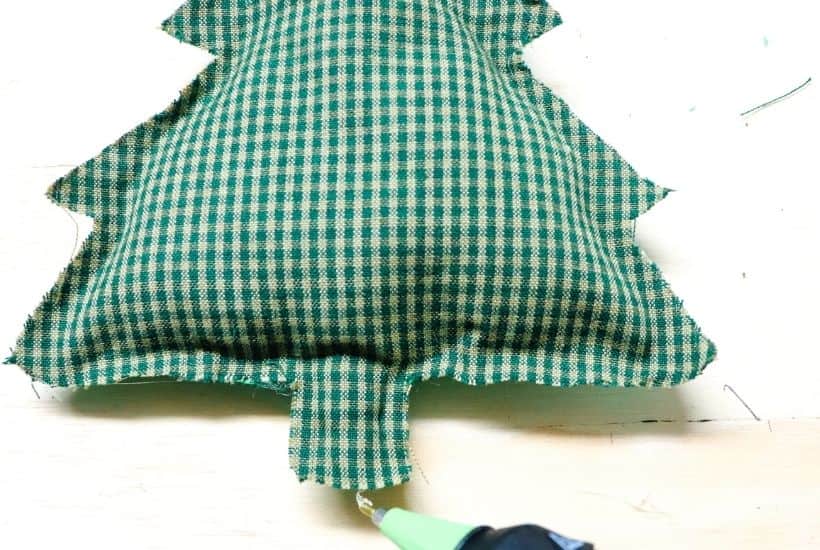
Hot glue the fabric to the foam, cardstock, or felt tree, leaving a portion open for stuffing. Stuff the tree and seal with hot glue.
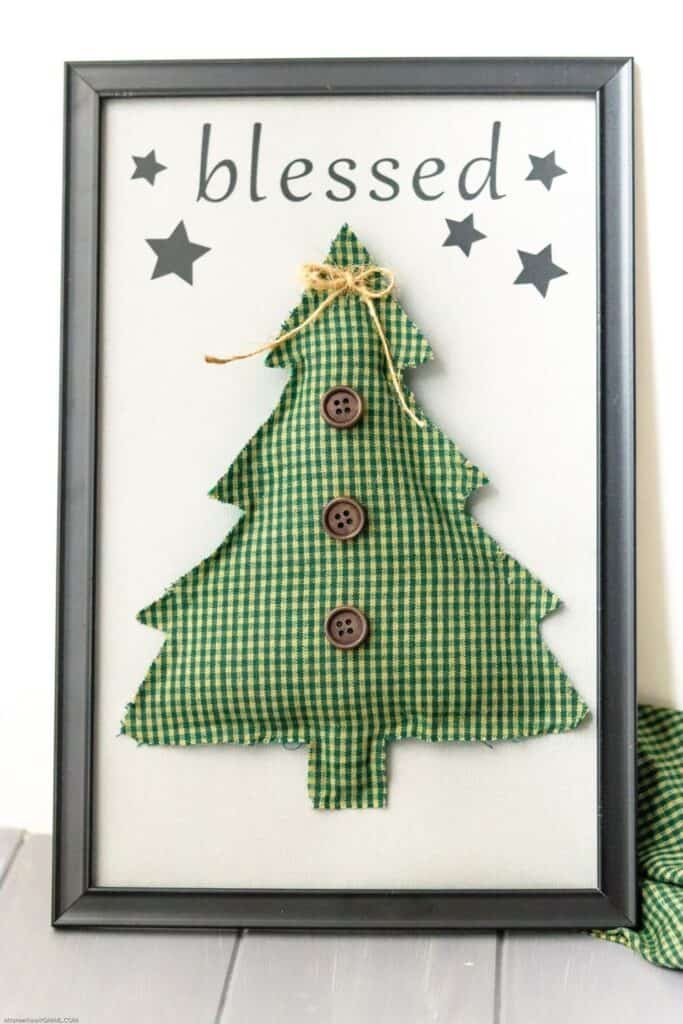
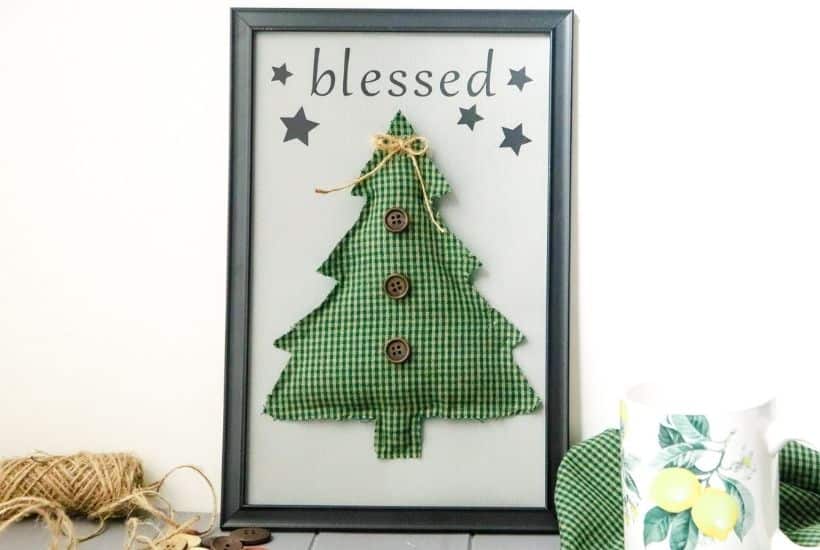
Trace the backing of the frame onto scrapbook paper, color of choice. Re-assemble the frame with the scrapbook paper inserted. Glue the center tree to the scrapbook paper, allowing at least 2” header space for the vinyl word and stars. Glue on the buttons and bow to the tree.
Download the Blessed SVG file here, and upload into Cricut.
Cutout on black vinyl. Transfer vinyl and center the word “blessed” on the frame. Add the stars.
More DIY Christmas Craft Ideas
Christmas Mason Jar Candles
Farmhouse Buffalo Plaid Hoop Wreath
Save this Blessed Christmas Tree Sign craft project for later. Pin the image below to your favorite Pinterest Board.

Farmhouse Style Blessed Christmas Sign
Materials
- 8.5 x 11 frame: I found mine at the dollar store
- Cricut Machine
- Black Cricut vinyl
- Foam, cardstock, or felt tree cutout: dollar store or print online
- Blessed SVG File – download here
- Dowels (optional if you’d like to create a wooden tree trunk, but not necessary)
- Buttons
- Twine
- Polyfil stuffing
- Fabric:
- Fine tip sharpie or fabric marker
- Hot glue gun
- Scrapbook paper
- Scissors
Instructions
- Open frame and remove glass. Trace the tree onto fabric with a fabric marker or fine tip sharpie.
- Hot glue the fabric to the foam, cardstock, or felt tree, leaving a portion open for stuffing. Stuff the tree and seal with hot glue.
- Trace the backing of the frame onto scrapbook paper, color of choice. Re-assemble the frame with the scrapbook paper inserted. Glue the center tree to the scrapbook paper, allowing at least 2” header space for the vinyl word and stars. Glue on the buttons and bow to the tree.
- DOWNLOAD THE BLESSED SVG FILE HEREE, AND UPLOAD INTO CRICUT. Cutout on black vinyl. Transfer vinyl and center the word “blessed” on the frame. Add the stars.

Pretty! This was a really wonderful post. Thank you for your provided information.
Very wonderful visual appeal on this website , I’d rate it 10 10.
Thank you for the sensible critique. Me and my neighbor were just preparing to do a little research about this. We got a grab a book from our area library but I think I learned more clear from this post. I’m very glad to see such magnificent information being shared freely out there.
Hi my family member! I want to say that this post is amazing, great written and come with approximately all vital infos. I would like to look more posts like this .
My spouse and i were really thankful that Emmanuel managed to carry out his inquiry out of the precious recommendations he made from your own site. It’s not at all simplistic to simply always be giving away methods others could have been making money from. We keep in mind we now have the writer to appreciate because of that. These explanations you’ve made, the straightforward website menu, the friendships you will aid to foster – it’s most astonishing, and it’s really aiding our son in addition to us do think that issue is awesome, and that’s unbelievably indispensable. Thank you for all the pieces!
I would like to thnkx for the efforts you’ve put in writing this site. I am hoping the same high-grade web site post from you in the upcoming as well. In fact your creative writing abilities has encouraged me to get my own website now. Really the blogging is spreading its wings rapidly. Your write up is a great example of it.
I’ve recently started a blog, the info you provide on this web site has helped me tremendously. Thank you for all of your time & work. “A physicist is an atom’s way of knowing about atoms.” by George Wald.
Mitolyn is a cutting-edge natural dietary supplement designed to support effective weight loss and improve overall wellness.
I relish, lead to I found exactly what I used to be looking for. You’ve ended my four day lengthy hunt! God Bless you man. Have a great day. Bye
Fantastic site. Plenty of helpful information here. I am sending it to a few friends ans additionally sharing in delicious. And obviously, thank you to your sweat!
I conceive this website holds very superb pent written content articles.
Mitolyn is a cutting-edge natural dietary supplement designed to support effective weight loss and improve overall wellness.
Great web site. Lots of helpful information here. I?¦m sending it to several buddies ans also sharing in delicious. And of course, thank you on your sweat!
Mitolyn is a cutting-edge natural dietary supplement designed to support effective weight loss and improve overall wellness.
I really like your writing style, superb info , appreciate it for putting up : D.
Hi there! This is my first visit to your blog! We are a group of volunteers and starting a new project in a community in the same niche. Your blog provided us valuable information to work on. You have done a outstanding job!
I have been surfing on-line more than three hours these days, but I never discovered any interesting article like yours. It is lovely price sufficient for me. Personally, if all webmasters and bloggers made just right content as you did, the web will likely be much more helpful than ever before.
Good V I should certainly pronounce, impressed with your web site. I had no trouble navigating through all the tabs and related information ended up being truly simple to do to access. I recently found what I hoped for before you know it at all. Quite unusual. Is likely to appreciate it for those who add forums or something, website theme . a tones way for your client to communicate. Excellent task..
I was looking through some of your blog posts on this site and I think this website is rattling instructive! Retain posting.
I like this site because so much useful stuff on here : D.
PrimeBiome is a dietary supplement designed to support gut health by promoting a balanced microbiome, enhancing digestion, and boosting overall well-being.
I am impressed with this site, really I am a fan.
I have recently started a web site, the info you offer on this site has helped me tremendously. Thanks for all of your time & work.
Great weblog here! Additionally your web site loads up fast! What host are you using? Can I get your affiliate hyperlink to your host? I desire my site loaded up as fast as yours lol
You are a very intelligent individual!
Pretty! This was a really wonderful post. Thank you for your provided information.
You need to participate in a contest for one of the best blogs on the web. I’ll recommend this website!
پارتیشن سازه ، تولید کننده انواع پارتیشن اداری و سایر دکوراسیون اداری، با حدود سه دهه سابقه. با افتخار مجرئ انواع پروژهها در اکثریت شرکتها و ادارات. سفارش مستقیم از تولید کننده بدون واسطه
Some really nice and useful info on this web site, as well I conceive the layout has got wonderful features.