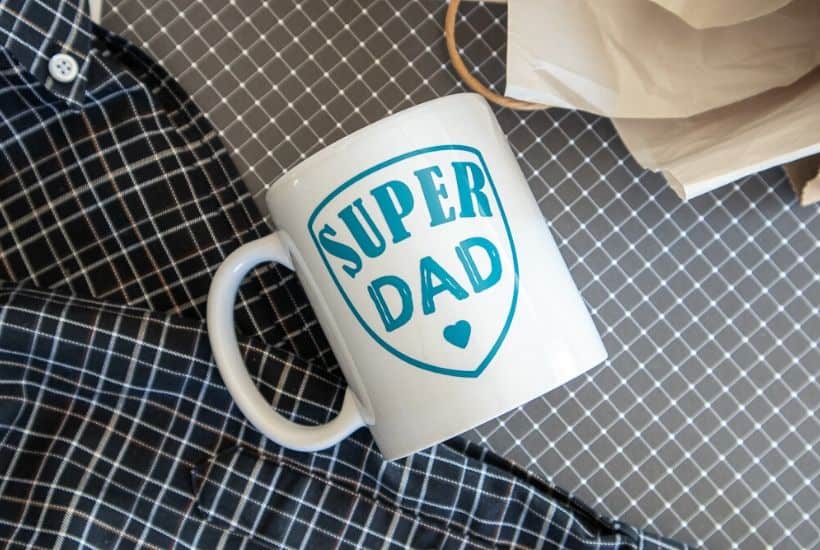
Cricut DIY Super Dad Father’s Day Mug


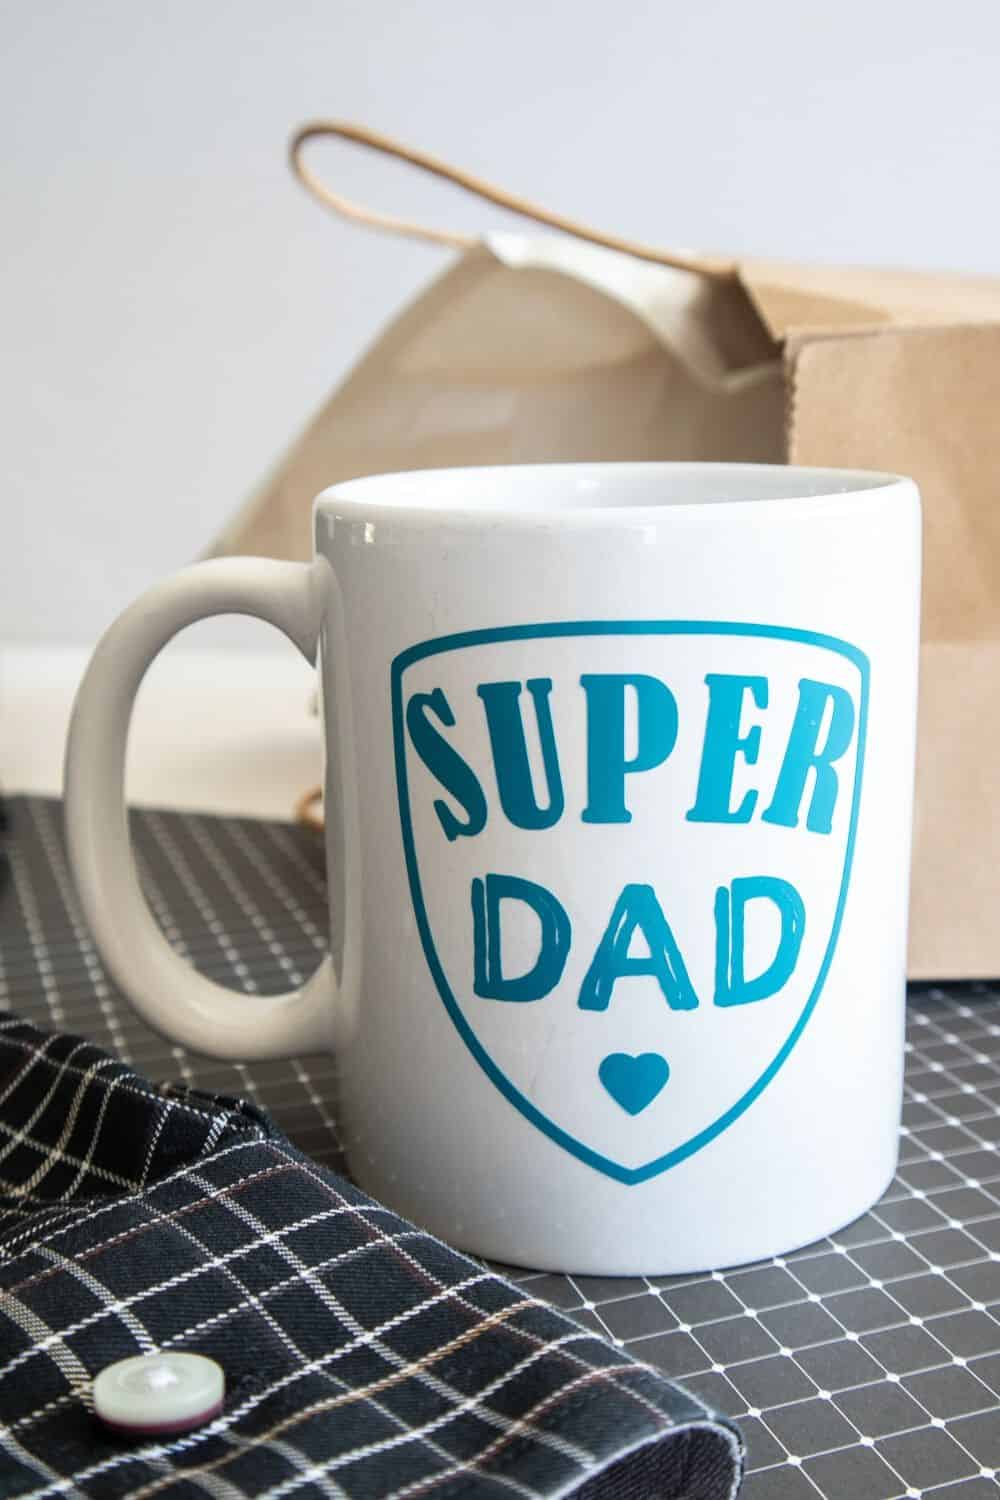
Say thanks to dad! Make dad this easy Cricut DIY Super Dad Mug. This Super Dad mug is an easy beginner Cricut craft project. It makes a great Father’s Day gift idea.
This post may contain affiliate links. We may receive a commission if you click and purchase something. Please see our disclosure policy for more details.
Happy Father’s Day. I feel like we were just wishing everyone Merry Christmas. I have to admit, this special day for dad snuck up on me this year. Quarantine life definitely leads to a simple, laid back mind set. I found myself without any Father’s Day gifts for the special men in our family.
So I whipped out my trusty Cricut and created this easy DIY father’s day mug.
 Give dad a gift from the heart this Father’s Day. This easy Super Dad Father’s Day Mug is a perfect gift idea for dad. This DIY project is also an easy beginner Cricut craft. I like to call this an inexpensive gift from the heart. Those gifts are often most meaningful.
What Do I Need To Make this DIY Father’s Day Mug
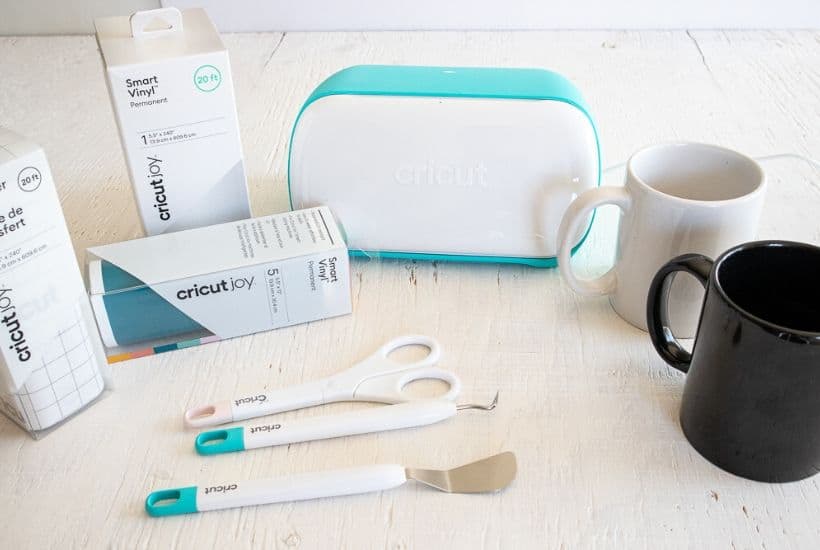
• Super Dad SVG File (Download here)
• Cricut Joy (or other Cricut cutting machine
 ) with Fine Point Blade

• Cricut Permanent Smart Vinyl , (in a contrasting color of your choosing – ie. white vinyl for a black mug or teal (from Beachside Sampler) vinyl for a white mug)

• Ceramic Mug (in a color of your choosing)
- Be sure to check out the dollar store for inexpensive mugs. I usually have great luck finding them for craft projects there.
• Scissors

How Do I Make a Cricut DIY Father’s Day Mug?
Thoroughly wash mugs with soap and hot water and let them dry completely before using.
Preparing the Images:
- Open Cricut Design Space.
- Click on the “+” sign to start a new project, opening up a blank canvas.
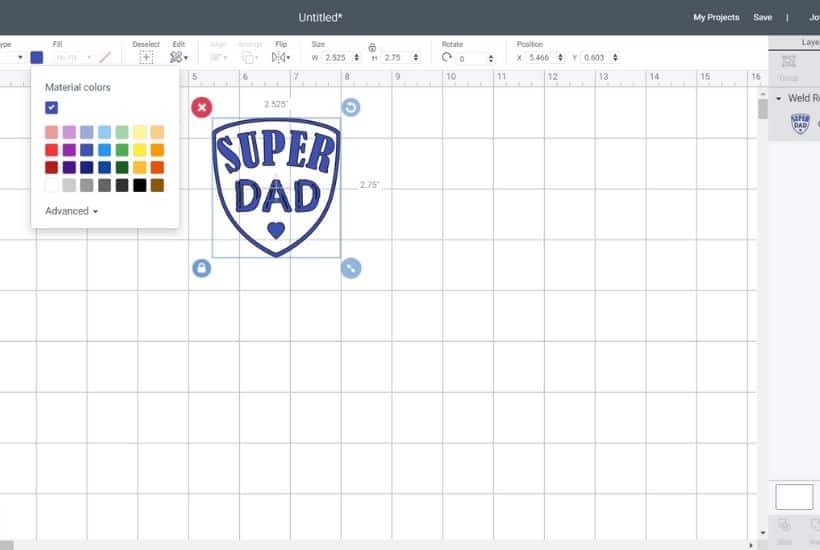
- Click on the “Upload” button from the toolbar and browse your downloaded files to insert the SVG file. The cut image will appear on the canvas.

- With the image selected, click on the “Weld” button to secure all parts of the image together for cutting.
Maintain the size (2.75” high) or adjust to fit your mug. To adjust the size, highlight the image and click on the size box in the top toolbar. Change the measurement to suit your mug size accordingly. - Change the image color if desired to match with the material color.
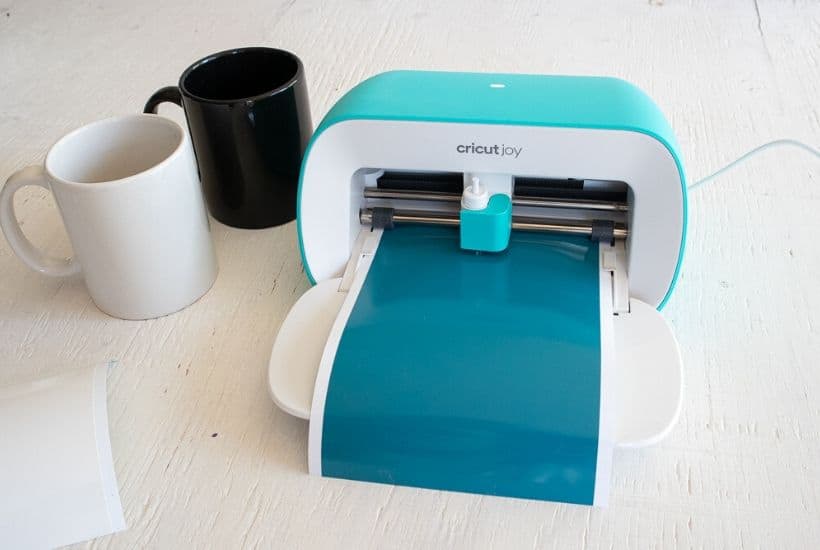
Cutting the Permanent Smart Vinyl:
- Select “Make It” in the upper right corner to proceed with cutting.
- If using Cricut Joy Smart Vinyl, choose “no mat” for cutting.
- Note the size of the Smart Vinyl needed and cut the length of the vinyl accordingly. In this case, cut the vinyl to 4.25” long.
- Choose the Smart Vinyl, Permanent from the list of options in the drop-down menu. Following the instructions prompted on the screen, cut out the vinyl.
How to Assemble the Mugs
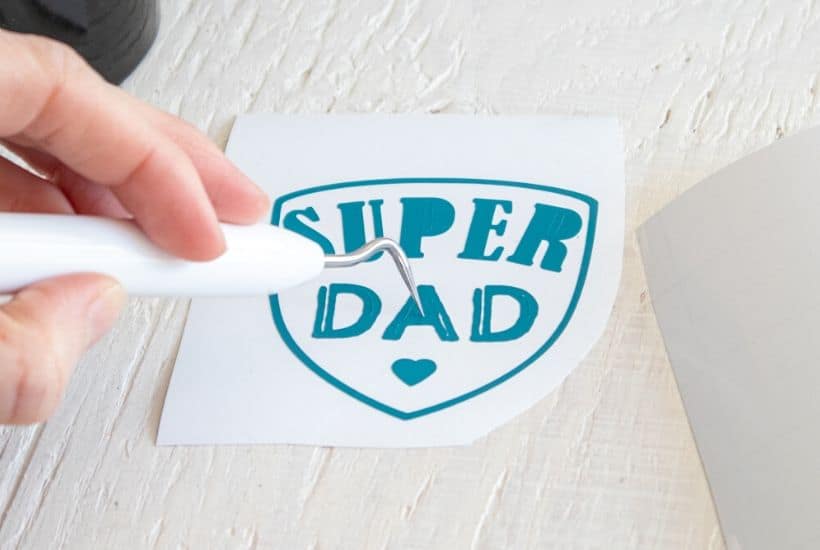
- Cut around the image with a pair of scissors.
- Using the weeding tool, peel away the excess vinyl around the cut images and discard.
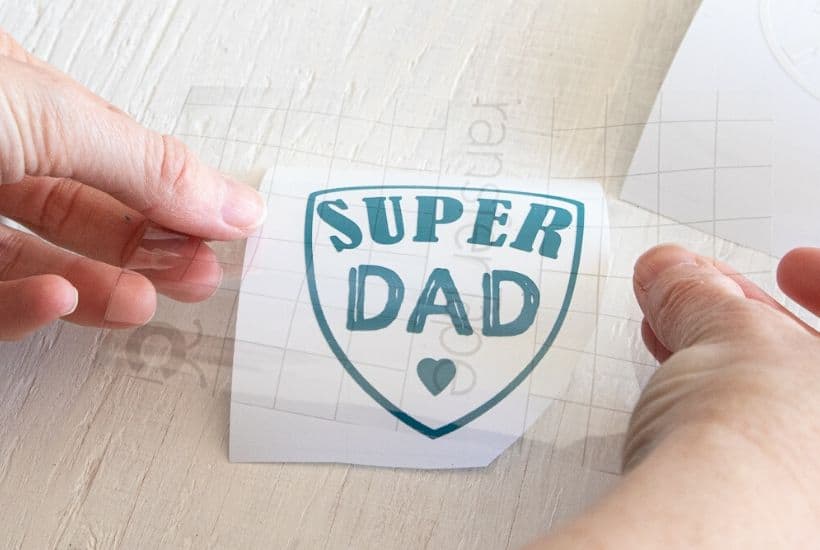
- Cut a piece of transfer tape a bit larger than the size of the image.
- Peel away the transfer tape backing and place the transfer tape overtop of the cut image. Gently rub the vinyl to help it stick to the transfer tape.
- Peel away the vinyl backing, leaving just the image adhered to the transfer tape.
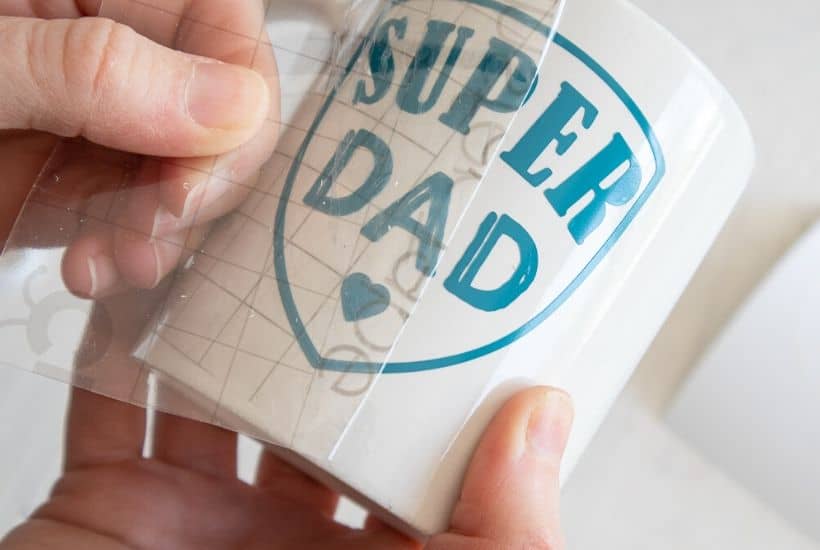
- Carefully consider the placement before applying as the permanent vinyl can’t be removed if placed incorrectly. Position the image with the transfer tape on to the smooth side of the mug and press in place.
- Press the image down with your fingers or with the Cricut scraping tool to help it to stick to the mug.
Slowly remove the transfer tape leaving the vinyl image on the mug.
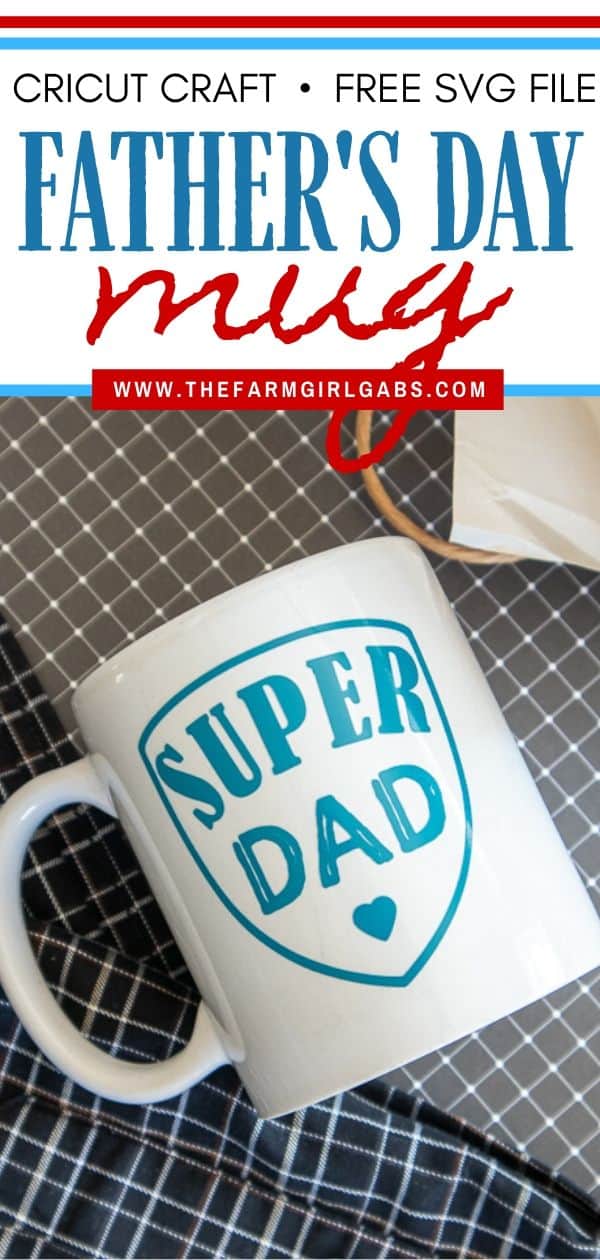
Save this easy Super Dad Father’s Day Mug project for later. Pin the image below to your favorite Pinterest Board.


Cricut DIY Super Dad Father’s Day Mug
Materials
- Father’s Day SVG File (Download here)
- Cricut Joy (or other cutting machine) with Fine Point Blade
- Standard grip mat
- Cricut Smart Vinyl, Permanent (in a contrasting color of your choosing - ie. white vinyl for a black mug or teal (from Beachside Sampler) vinyl for a white mug)
- -Cricut Transfer Tape
- Ceramic Mug (in a color of your choosing)
- Scissors
- Weeder tool
Instructions
- Thoroughly wash mugs with soap and hot water and let them dry
completely before using.
Preparing the Images:
- Open Cricut Design Space.
- Click on the “+” sign to start a new project, opening up a blank canvas.
- Click on the “Upload” button from the toolbar and browse your downloaded files to insert the SVG file.
- The cut image will appear on the canvas.
- With the image selected, click on the “Weld” button to secure all parts of the image together for cutting.
- Maintain the size (2.75” high) or adjust to fit your mug. To adjust the size, highlight the image and click on the size box in the top toolbar. Change the measurement to suit your mug size accordingly.
- Change the image color if desired to match with the material
color.
Cutting the Permanent Smart Vinyl:
- Select “Make It” in the upper right corner to proceed with cutting.
- If using Cricut Joy Smart Vinyl, choose “no mat” for cutting.
- Note the size of the Smart Vinyl needed and cut the length of the vinyl
accordingly. In this case, cut the vinyl to 4.25” long. - Choose the Smart Vinyl, Permanent from the list of options in the drop-down menu.
- Following the instructions prompted on the screen, cut out the vinyl.
How to assemble the Mugs
- Cut around the image with a pair of scissors.
- Using the weeding tool, peel away the excess vinyl around the cut images and discard.
- Cut a piece of transfer tape a bit larger than the size of the image.
- Peel away the transfer tape backing and place the transfer tape over top of the cut image. Gently rub the vinyl to help it stick to the transfer tape.
- Peel away the vinyl backing, leaving just the image adhered to the transfer tape.
- Carefully consider the placement before applying as the permanent vinyl can’t be removed if placed incorrectly. Position the image with the transfer tape on to the smooth side of the mug and press in place.
- Press the image down with your fingers or with the Cricut scraping tool to help it to stick to the mug.
- Slowly remove the transfer tape leaving the vinyl image on the mug.
![[Ad] Make this Inside Out Topsy Turvy Emotion Garden with your kids. It's a garden project to teach them about emotions. #InsideOutEmotions](https://thefarmgirlgabs.com/wp-content/uploads/2015/06/Inside-Out-Topsy-Turvy-Emotion-Garden-Feature-2.jpg)

Can you be more specific about the content of your article? After reading it, I still have some doubts. Hope you can help me.