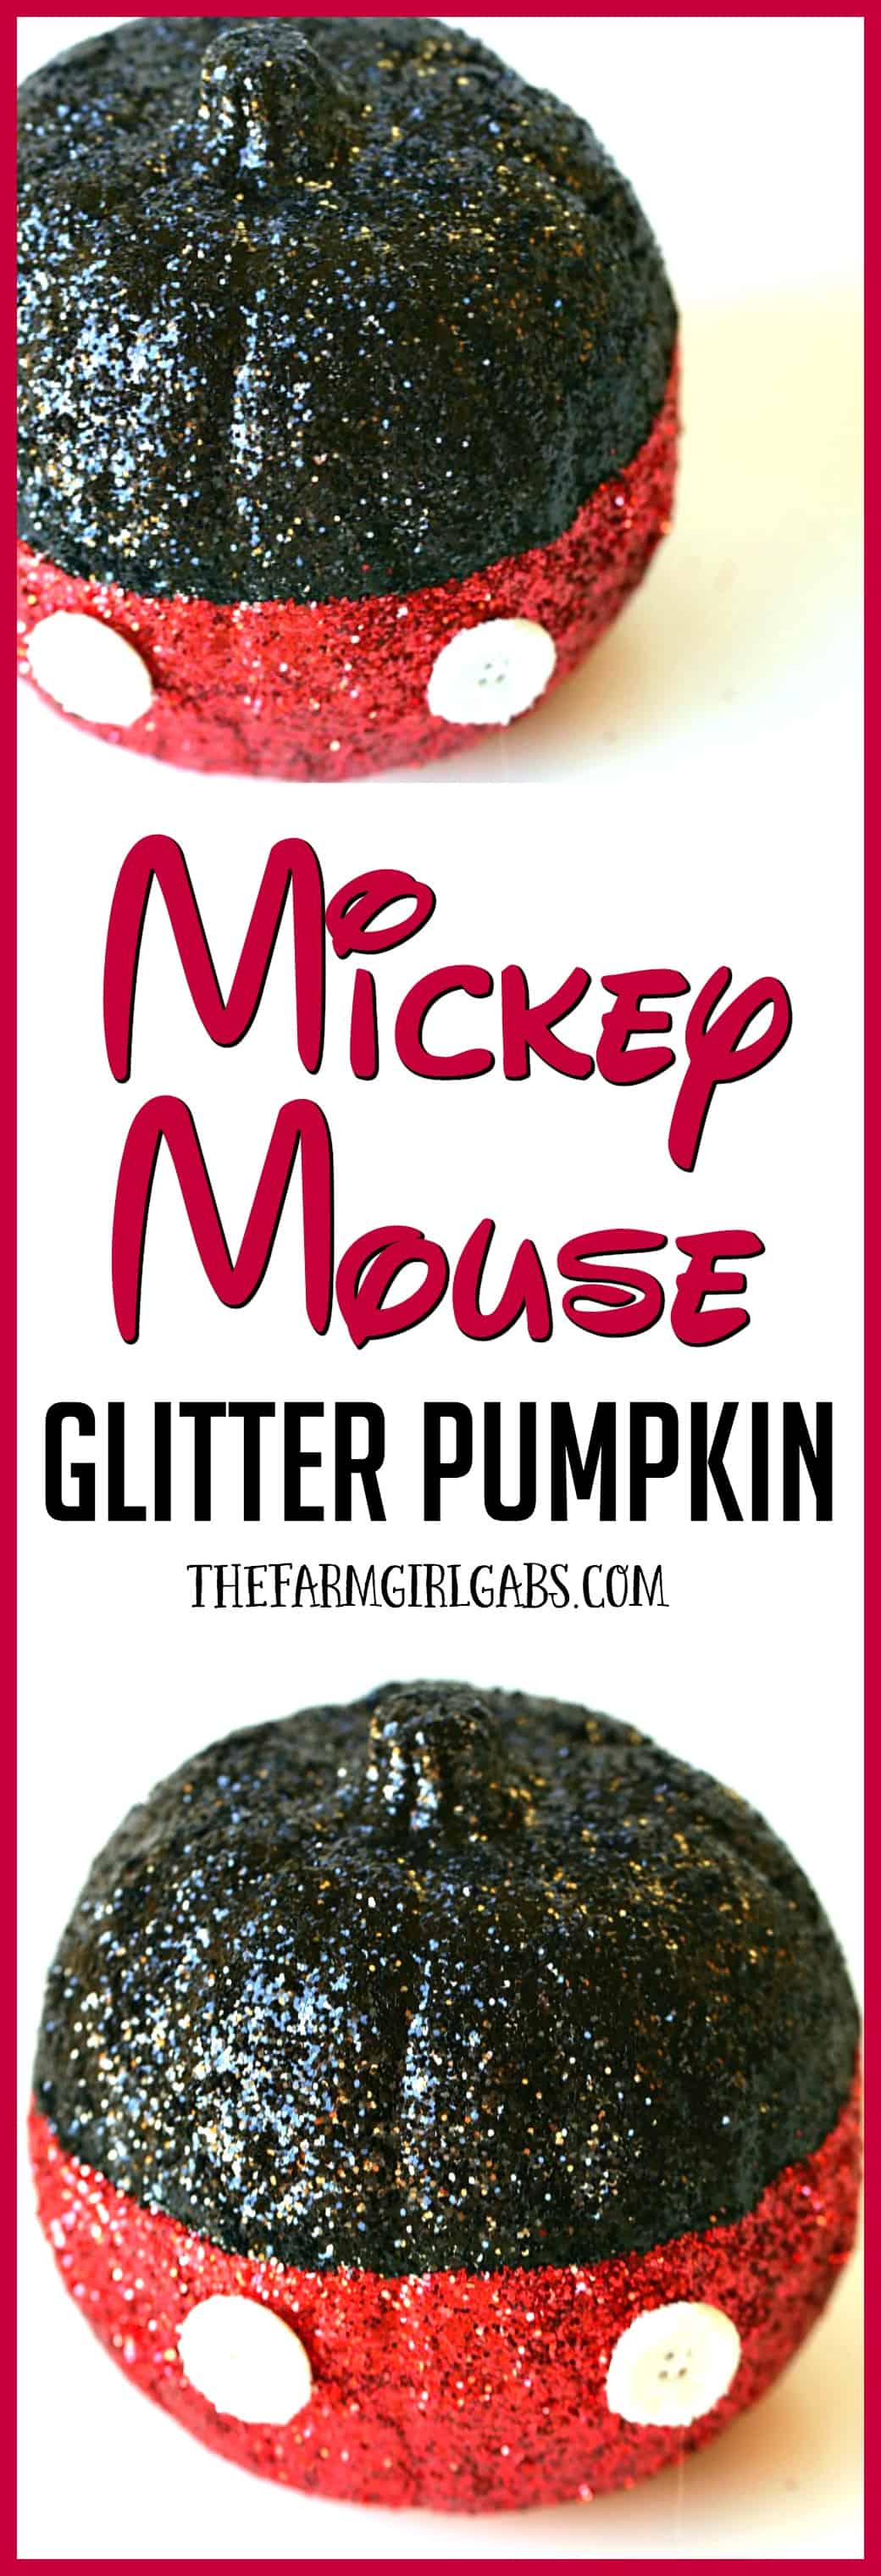
Mickey Mouse Glitter Pumpkin
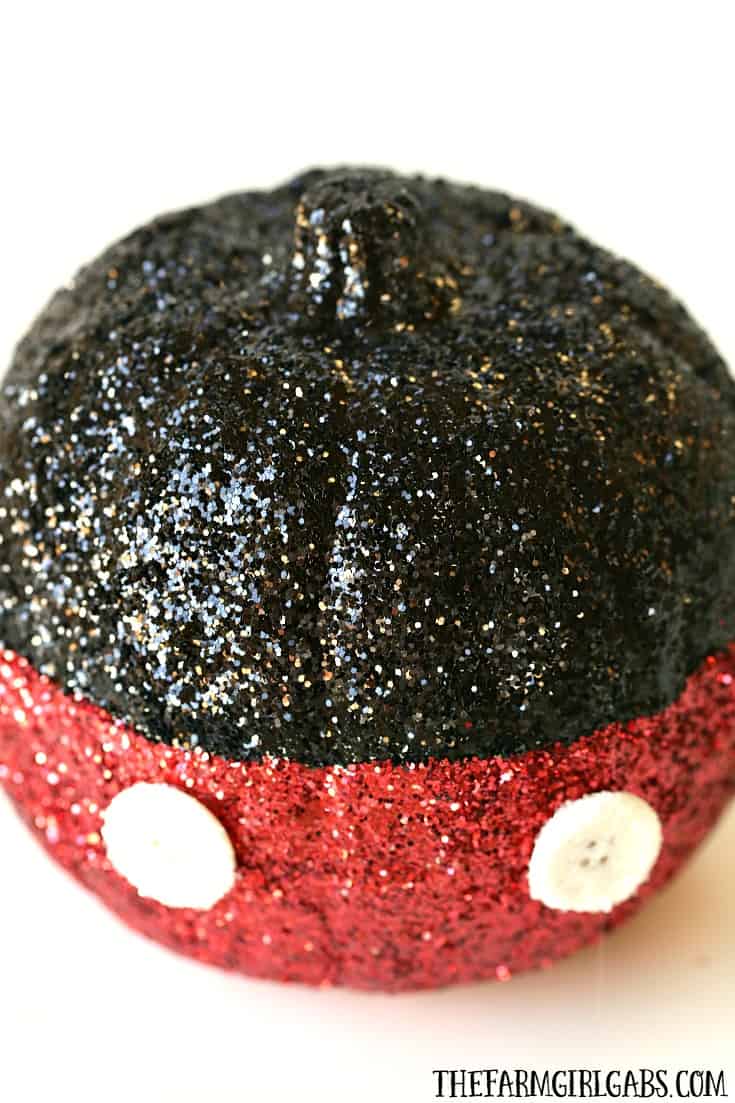
Oh boy! Make your Disney Halloween swell with this easy DIY Mickey Mouse Glitter Pumpkin. This is a fun Halloween craft for kids and Disney Fans
This post may contain affiliate links. We may receive a small commission if you click and purchase something. Please see our disclosure policy for more details.
I have said many times before here on The Farm Girl Gabs that I LOVE glitter. Seriously, the more glitter the better. And while it is the messiest craft item to use, it is definitely the prettiest in my book. Last year, I showed you how to make a pretty Minnie Mouse Pumpkin. Well, Minnie was lonely.
So to round out my DIY No-Carve Disney Pumpkin series for this year, I decided to create the mouse that started it all. The boss. The one and only Mickey. Now, I know that Mickey is not a glittery type of guy but I needed to give this easy craft project some pizzazz. Throw some glitter in the air and get crafting!


Here is what you need to make your own Mickey Mouse Glitter Pumpkin
- 9″ white craft pumpkin
- Red Chunky Glitter
- Black Chunky Glitter
- 2 Large White Buttons
- White Glitter
- Mod Podge
- Glue Gun
- Painters Tape
of thick rubber band
- Paintbrush
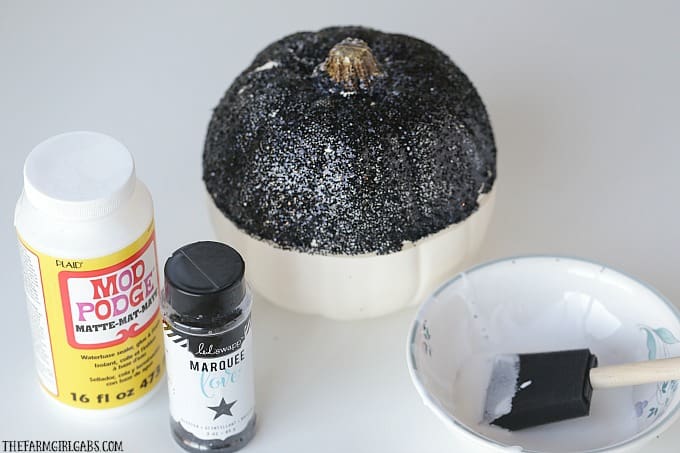
First things first. Cover your work area because messiness will ensue! Use the painter’s tape or rubber band to section off Mickey’s body. Apply a coat of Mod Podge to the top half of the pumpkin. Sprinkle with glitter. Let dry totally and repeat the process. Allow to dry completely.
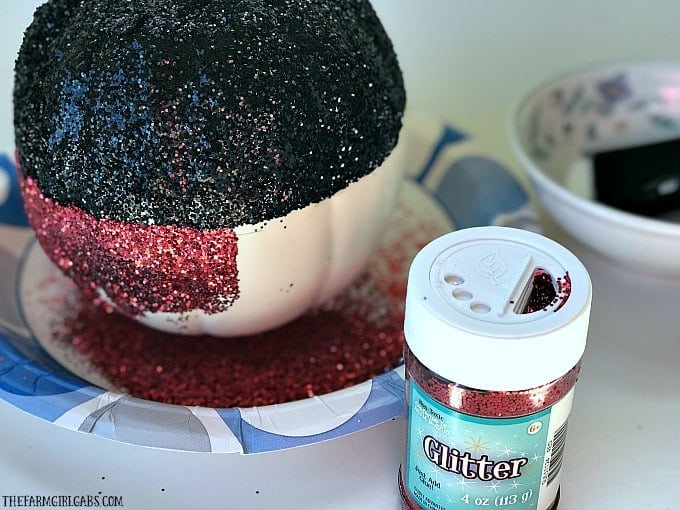
Do the same for the bottom portion of the pumpkin, only with the red glitter. You can also add glitter to the two white buttons while you are waiting for everything to dry.
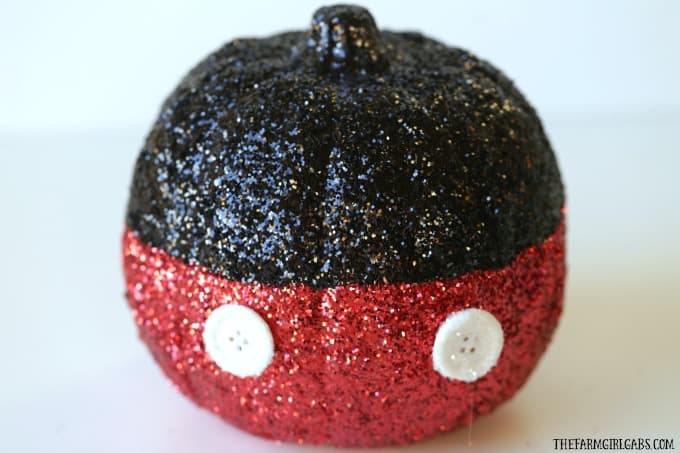
Waiting for the pumpkin to dry is the worst part….because patience is not my strongest quality. But once your Mickey Mouse Glitter Pumpkin is totally dry, use a glue gun to secure the buttons onto Mickey’s pants.
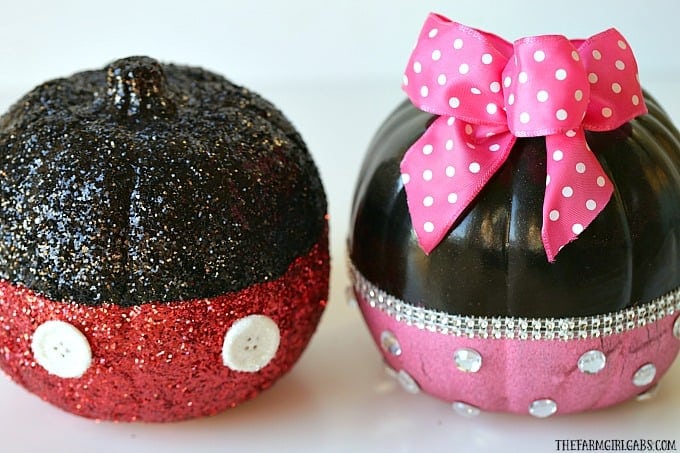
They really do make the perfect pair don’t they? You can find all of the Disney Inspired Pumpkin Ideas here.
Try These Easy Halloween Crafts
No-Carve Disney Inspired Pumpkins
Thanks for every other informative site. The place else may just I get that kind of info written in such an ideal means? I’ve a project that I am just now working on, and I have been on the look out for such information.
Hello there, simply turned into aware of your weblog through Google, and found that it’s truly informative. I’m gonna watch out for brussels. I’ll appreciate for those who proceed this in future. Numerous folks shall be benefited out of your writing. Cheers!
I went over this web site and I believe you have a lot of great info, saved to fav (:.
It is in reality a nice and helpful piece of info. I am happy that you just shared this useful info with us. Please stay us informed like this. Thanks for sharing.
Aw, this was a very nice post. In idea I wish to put in writing like this additionally – taking time and precise effort to make an excellent article… but what can I say… I procrastinate alot and under no circumstances appear to get one thing done.
Excellent read, I just passed this onto a friend who was doing a little research on that. And he actually bought me lunch as I found it for him smile So let me rephrase that: Thank you for lunch! “Feeling passionate about something is like getting a peak at your soul smiling back at you.” by Amanda Medinger.
Whats up! I simply want to give an enormous thumbs up for the good info you’ve gotten right here on this post. I shall be coming again to your weblog for extra soon.
I do agree with all of the ideas you’ve presented in your post. They’re very convincing and will definitely work. Still, the posts are very short for newbies. Could you please extend them a bit from next time? Thanks for the post.
Hmm is anyone else experiencing problems with the images on this blog loading? I’m trying to determine if its a problem on my end or if it’s the blog. Any feed-back would be greatly appreciated.
Great website. Plenty of helpful info here. I?¦m sending it to several pals ans additionally sharing in delicious. And certainly, thanks for your sweat!
I have read some just right stuff here. Certainly value bookmarking for revisiting. I wonder how a lot effort you put to make one of these great informative website.
It’s laborious to search out educated people on this subject, but you sound like you realize what you’re speaking about! Thanks
Saved as a favorite, I really like your blog!
You have mentioned very interesting details! ps decent internet site.
Wow that was odd. I just wrote an incredibly long comment but after I clicked submit my comment didn’t appear. Grrrr… well I’m not writing all that over again. Anyhow, just wanted to say fantastic blog!
I enjoy studying and I think this website got some genuinely utilitarian stuff on it! .
At this time it looks like WordPress is the best blogging platform out there right now. (from what I’ve read) Is that what you’re using on your blog?
That is really attention-grabbing, You are an excessively professional blogger. I’ve joined your rss feed and stay up for in the hunt for extra of your great post. Additionally, I’ve shared your website in my social networks!
Hi there, I found your blog via Google while searching for a related topic, your web site came up, it looks good. I have bookmarked it in my google bookmarks.
Mitolyn is a cutting-edge natural dietary supplement designed to support effective weight loss and improve overall wellness.
Thanks for sharing. I read many of your blog posts, cool, your blog is very good.
I really like your writing style, good information, regards for putting up :D. “In university they don’t tell you that the greater part of the law is learning to tolerate fools.” by Doris Lessing.
Hi my friend! I wish to say that this post is amazing, nice written and include almost all significant infos. I’d like to see more posts like this .
Hi there! This post couldn’t be written any better! Reading this post reminds me of my old room mate! He always kept talking about this. I will forward this write-up to him. Pretty sure he will have a good read. Thank you for sharing!
Mitolyn is a cutting-edge natural dietary supplement designed to support effective weight loss and improve overall wellness.
I have been browsing online greater than three hours these days, but I by no means discovered any interesting article like yours. It is pretty value enough for me. Personally, if all site owners and bloggers made just right content as you did, the net will be much more useful than ever before. “Learn to see in another’s calamity the ills which you should avoid.” by Publilius Syrus.
Hi, i think that i saw you visited my weblog thus i came to “return the favor”.I’m trying to find things to enhance my web site!I suppose its ok to use some of your ideas!!
Hey there! This is kind of off topic but I need some guidance from an established blog. Is it hard to set up your own blog? I’m not very techincal but I can figure things out pretty fast. I’m thinking about making my own but I’m not sure where to start. Do you have any points or suggestions? Thanks
I have been exploring for a bit for any high-quality articles or blog posts in this kind of area . Exploring in Yahoo I at last stumbled upon this site. Studying this info So i¦m happy to express that I’ve an incredibly just right uncanny feeling I discovered exactly what I needed. I such a lot for sure will make certain to do not put out of your mind this site and give it a look on a continuing basis.
I would like to thnkx for the efforts you’ve put in writing this web site. I am hoping the same high-grade site post from you in the upcoming as well. In fact your creative writing abilities has inspired me to get my own website now. Really the blogging is spreading its wings quickly. Your write up is a good example of it.
Good info. Lucky me I reach on your website by accident, I bookmarked it.
PrimeBiome is a dietary supplement designed to support gut health by promoting a balanced microbiome, enhancing digestion, and boosting overall well-being.
I love the efforts you have put in this, thankyou for all the great blog posts.
Aw, this was a really nice post. In idea I wish to put in writing like this moreover – taking time and actual effort to make an excellent article… however what can I say… I procrastinate alot and in no way seem to get something done.
An fascinating discussion is value comment. I think that it’s best to write extra on this subject, it may not be a taboo subject but usually persons are not sufficient to speak on such topics. To the next. Cheers
There are some attention-grabbing points in time in this article but I don’t know if I see all of them heart to heart. There’s some validity however I will take hold opinion until I look into it further. Good article , thanks and we want extra! Added to FeedBurner as properly
Some truly interesting details you have written.Assisted me a lot, just what I was searching for : D.
That is really fascinating, You are an excessively skilled blogger. I’ve joined your feed and stay up for in the hunt for extra of your great post. Also, I have shared your web site in my social networks!
The Natural Mounjaro Recipe is more than just a diet—it’s a sustainable and natural approach to weight management and overall health.