How to Make a Fall Farmers’ Market Cutting Board

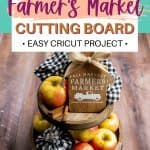


Fall is finally here, which means that all of those fun fall crafts are finally here. One craft that anyone would love to do this fall is this fall farmers’ market cutting board. Using your Cricut or cutting machine, you can create a cutting board that’s fall-themed and that wow your family and guests.

This post may contain affiliate links. We may receive a small commission if you click and purchase something. Please see our disclosure policy for more details.
Fall Cutting Board
When it comes to using a Cricut, there is so much you can do with them! The great thing about using the Cricut or a cutting board is that you don’t have to use a bunch of supplies. In fact, the list is pretty short! And, the materials will go far, if you know how to use them and what to use them for!
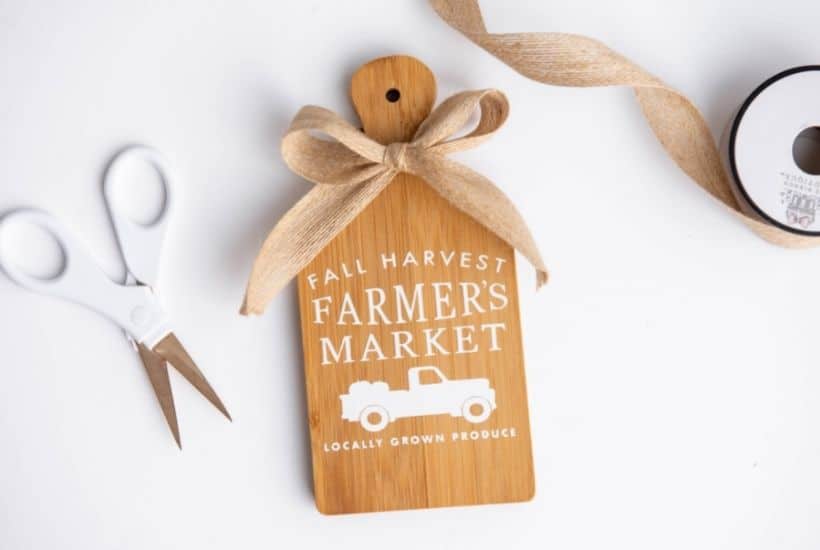
I love the farmhouse style. I guess you can say it is most likely because I live on a very large fruit and vegetable farm. Farmers help feed America and I am proud to say that my family definitely does their part. That is why I created this fun Farmer’s Market Cutting Board. The meaning is special and it’s important to support our local farmers.
Here is how I made this easy DIY Farmhouse Style craft project.
Materials
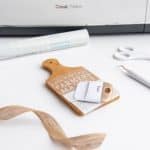
- Cricut or another cutting machine – Naturally, you are going to need a Cricut or cutting machine to help you make this fall cutting board!
- Cricut standard grip mat – It’s great that there are options for making this fallboard!
- Cricut Weeding tool – You are going to need this material to help you finish this cutting board.
- Cricut scraper tool or old credit card – This step is versatile, which I love!
- Mini cutting board – You can actually find one of these really cheap!
- Ribbon of your choice (burlap ribbon used here) – Go big or go home for this ribbon! The bigger the better!
How to Make Fall Cutting Board
Learning how to make a fall cutting board is going to be easier than you think. Here are the basic steps for making the cutting board, but make sure you check out the how-to below for the full directions.
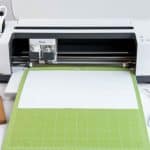
1. Import and load the SVG file (you can download it here).

2. Adjust the vinyl within your machine.
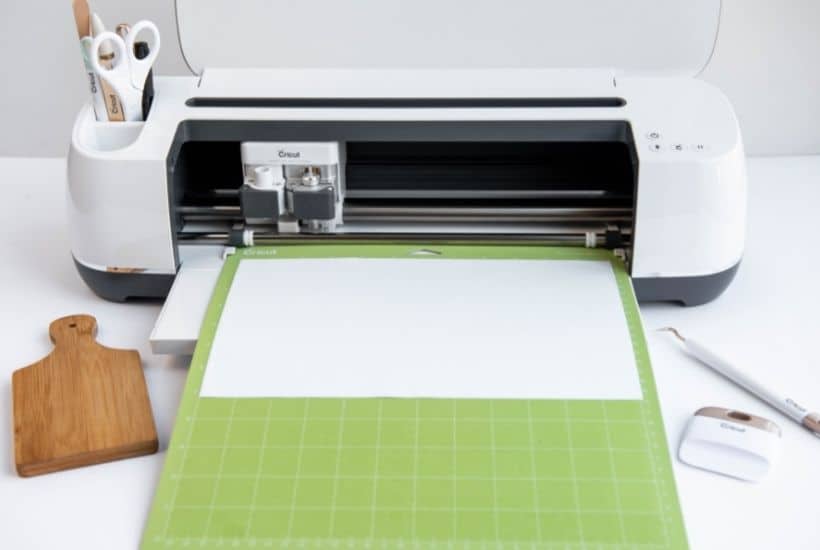
3. One the cut is made, you’ll move the vinyl away from the design.
4. Use the scraper tool to apply the transfer tape. You’ll need to do this to get the design off the carrier sheet and onto your project’s actual surface, which is the cutting board.
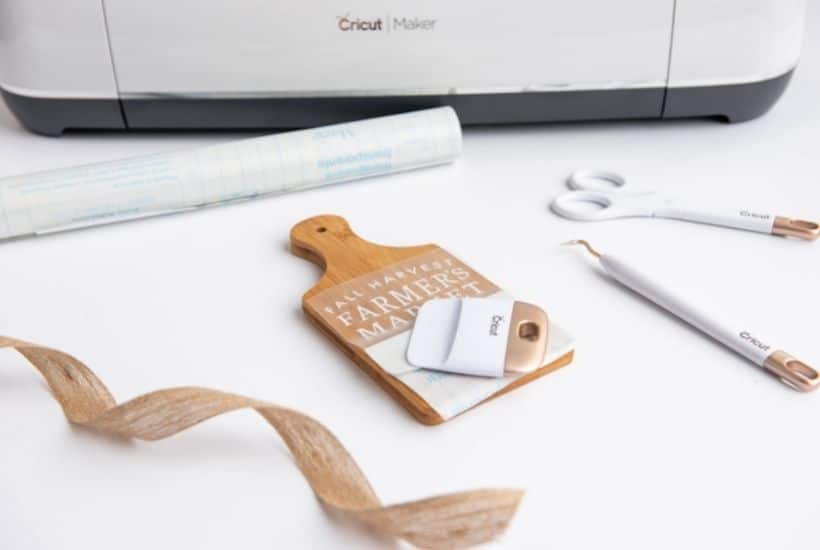
5. Turn the design face down, apply pressure, and pull the carrier sheet away from the transfer tape.
6. Make sure you’re happy with the location of the design on the cutting board.
7. Remove the transfer sheet away from the design.
8. Use the ribbon and tie it around the handle of the cutting board.

How long does it take to make the fall cutting board?
The fall cutting board should take you less than a half hour to make. It makes an excellent decor item or you can use it as a gift around your house.
What kind of ribbon should I use?
I used a burlap ribbon, but you can use whatever you have on hand. It’s a fall-themed board, so you can try and stick with those colors, if you’d like.

Hopefully, this fall-themed cutting board gets you excited about the crisp season. The weather has cooled down and that means we get LOTS of time for crafting and Cricut projects.
More Farmhouse Style DIY Craft Projects
More Easy Cricut Craft Ideas For Beginners
- Super Dad Father’s Day Mug
- Spider Web Hoop Art
- Wood Slice Garden Markers
- Buffalo Plaid Hoop Ornaments
- Valentine’s Day Candy Mason Jars
Save this easy Farmhouse Craft for later. Pin the image below to your favorite Pinterest Board.
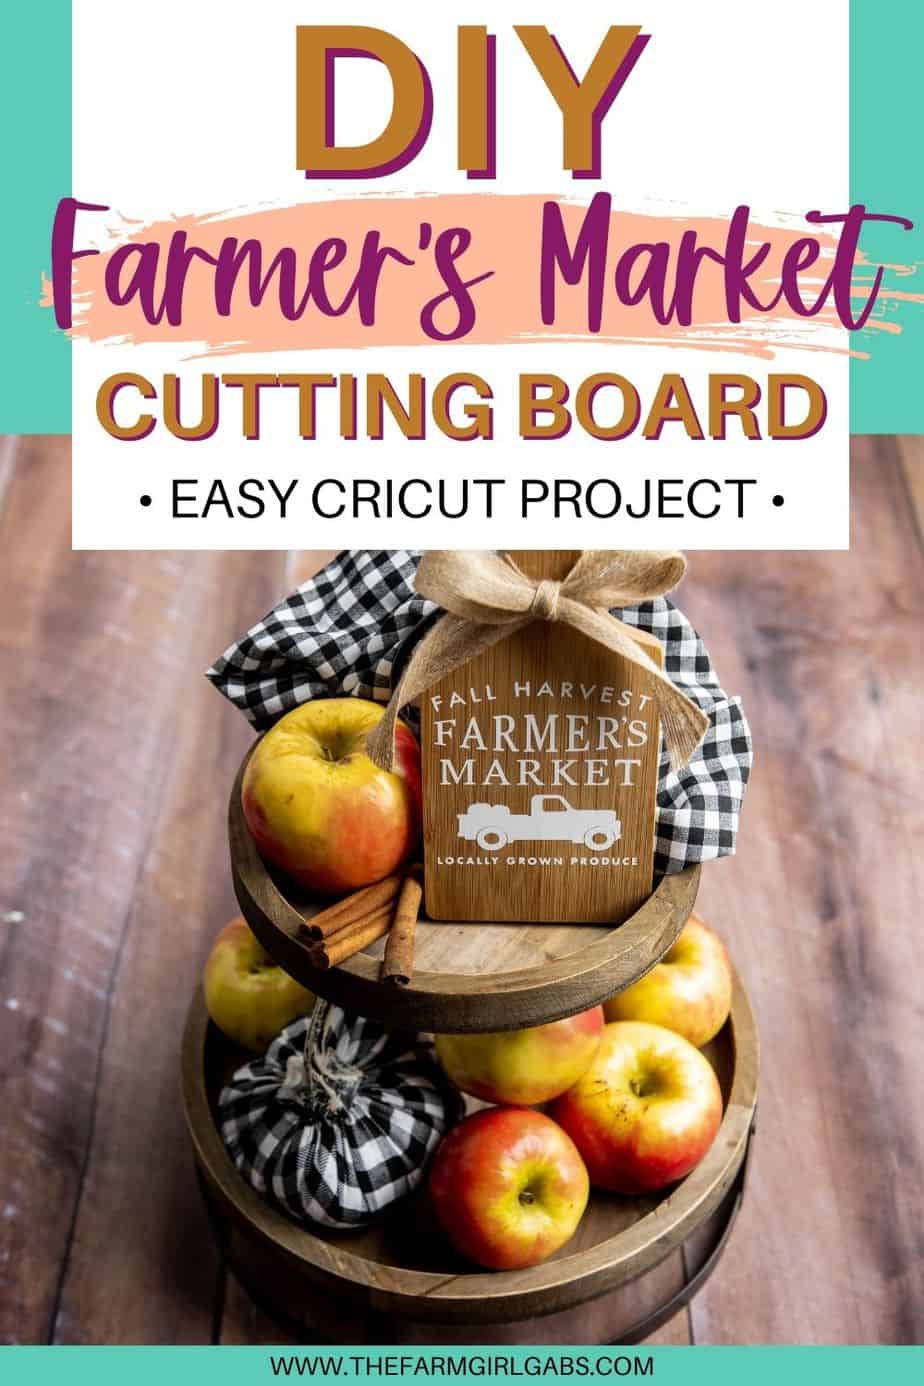
Fall Themed Cutting Board
Fall is finally here, which means that all of those fun fall crafts are finally here. One craft that anyone would love to do this fall is this fall farmers' market cutting board. Using your Cricut or cutting machine, you can create a cutting board that’s fall-themed and that wow your family and guests. This easy Cricut craft takes less than than a half-hour to make. Learning how to make a fall cutting board is going to be easier than you think.
Materials
- Cricut or other cutting machine
- Cricut blue light or green standard grip mat •Oracle 651 vinyl or permanent vinyl of your choice •Transfer tape
- Cricut Weeding tool
- Cricut scrapper tool or old credit card
- Mini cutting board
- Ribbon of your choice (burlap ribbon used here)
Instructions
Step 1: Import and upload the SVG file to design space. Adjust the size of the SVG to fit the size of the cutting board. Size it to be about a quarter of an inch shorter the the edge of the board.
Step 2: Once sized accordingly, select make in in design space. Adjust the machines setting or material dial to vinyl. Load the oracle 651 (this is permanent vinyl) to your machine on the blue light grip mat and hit “go”.
Step 3: When the cut is complete begin to weed the vinyl off and away from the design using your weeding tool (looks like a dentist pick). Don’t forget to weed around the outside of the letters and small parts inside any letter that are enclosed (ex. a,e,o ).
Step 4: After the design is completely weeded cut off a piece of transfer tape the size of the vinyl and apply the transfer tape using pressure with the scrapper tool. This is done in order to get the vinyl off it’s carrier sheet and onto your projects surface.
Step 5: Turn the entire design face down and begin to gently apply pressure and pull the vinyl’s carrier sheet off and away from the transfer tape.
Step 6:Place the vinyl on the transfer tape to the middle of your board. Once 100% happy with the location of the design, apply pressure and smooth over the design using the scrapper tool.
Step 7: Once enough pressure had been applied slowly remove the transfer tape and very carefully and slowly rolling it away and off the board. The vinyl will remain on your project.
Step 8: Cut off a ribbon of your choice and tie around the handle of the cutting board creating a bow.