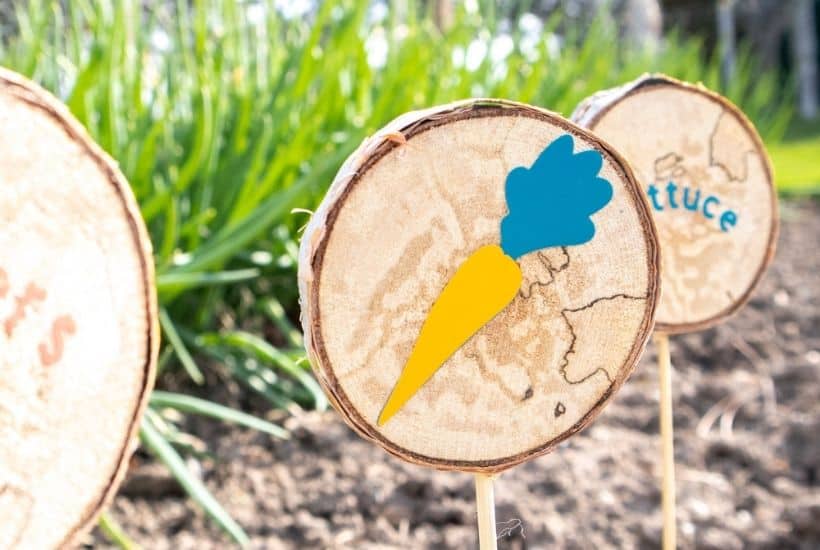
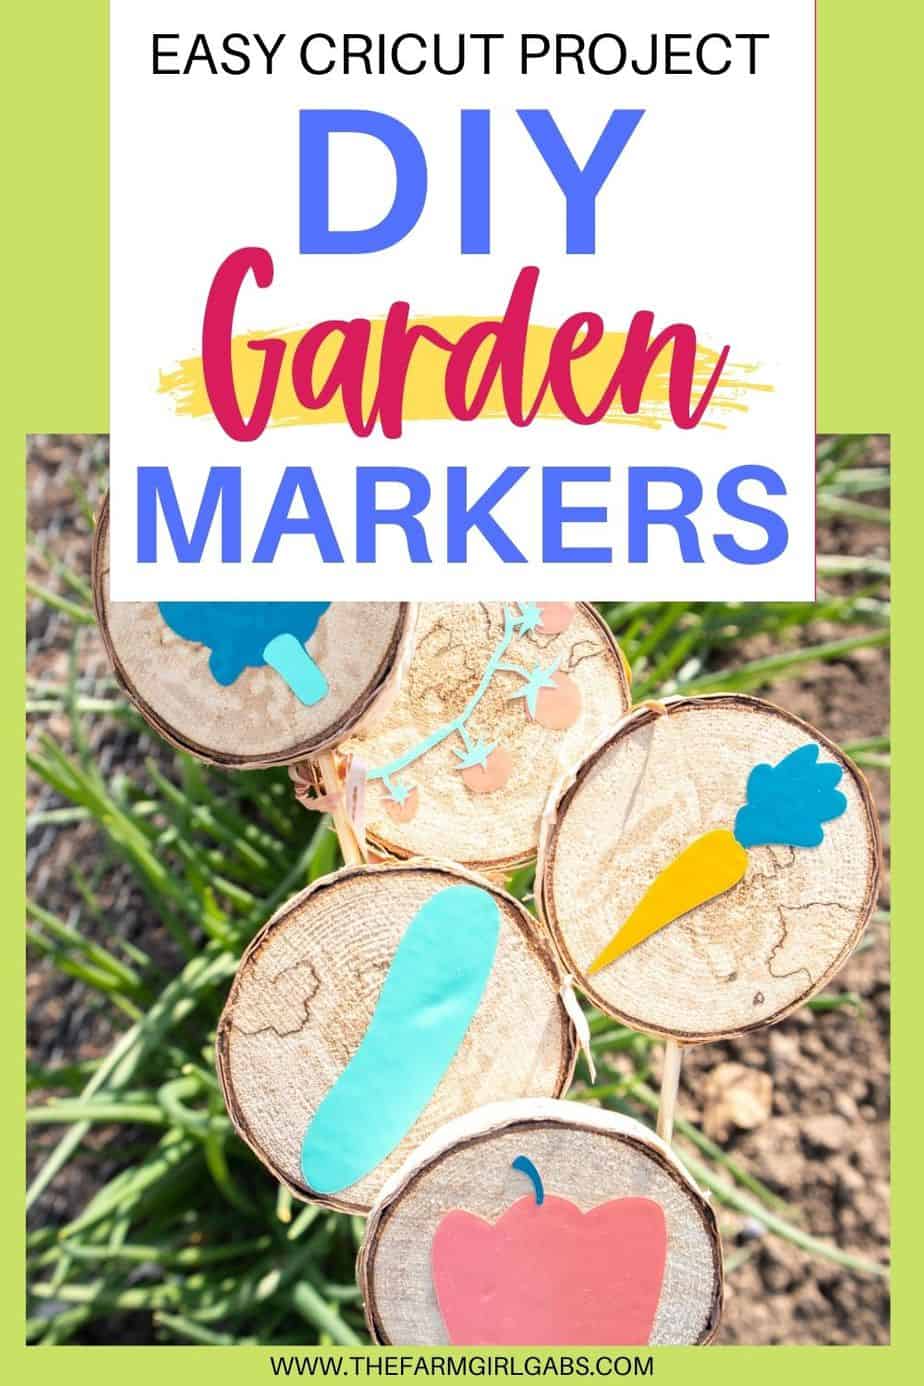
DIY Wood Slice Garden Markers


Decorate your garden using DIY Wood Slice Garden Markers made with Cricut Joy. You can label your plants, including flowers, fruits, and vegetables using these homemade markers.
This post may contain affiliate links. We may receive a commission if you click and purchase something. Please see our disclosure policy for more details.
Wood Slice Garden Markers
Would you like to decorate your garden? If you were thinking about installing garden markers in different areas, you can make them at home using the Cricut Joy.
Wood Slice Garden markers are a major convenience because they’ll keep you aware of where you’ve planted different things. If you have a watering schedule for different plants, the markers will help you identify your plants and provide them with the water they need.
While traditional garden markers are basic and boring, these DIY Wood Slice Garden Markers with Cricut Joy are the exact opposite. It’s time to get crafty! You’ll get to create fun, beautiful pieces to put in your garden.
These markers will make the garden more aesthetically pleasing. You can even customize them with the names of different fruits, veggies, and flowers using different fonts and colors.
Supplies Needed To Make DIY Garden Markers
If you’re ready to make these garden markers at home, you’ll need to gather the right supplies. Besides the Cricut Joy, you’ll also need the following items:

- Cricut Smart Vinyl (Beachside Sampler)
- Cricut Transfer Tape
- Scissors
- Wood Slices
- Weeder
- Wood Skewers
- Small Drill
If you work with your Cricut Joy regularly, you’ll probably already have these supplies. If not, be sure to get them beforehand. You can get the wood slices on Amazon or at most craft stores.
How To Make the Wood Slice Garden Markers
If you’re feeling indecisive about this do-it-yourself project because you think it’s going to be a bit too challenging, don’t stress it. These are some of the bet reasons to make the DIY Wood Slice Garden Markers with Cricut Joy.
- You’ll save money over time. The cheap plastic garden markers break easily and don’t withstand the elements well enough. If you want permanent garden markers that will continue to look good in all kinds of weather, these wood ones are perfect.
- They’re completely customizable. Use different colors or fonts to create unique text to add to each wooden slice. You can use your favorite colors or any colors that you believe will look good in the garden.
- It doesn’t take too long to make these garden markers. While it might sound challenging, the instructions are easy enough to follow. If you know how to use the Cricut Joy, you can make these garden markers in no time. You can even get the kids involved in helping you create them!

Helpful Cricut Tips
When working with vinyl, make sure to gently rub it against the transfer tape to get it to stick to it. Work with your weeding tool to remove the extra pieces of vinyl from around the sides of the text you’re planning on adding to your wood slices.
If you don’t currently have a weeding tool, but you’d like to make these garden markers, you can always use a straight pin or safety pin to help with removing those extra vinyl pieces with ease. Use these tips to make DIY Wood Slice Garden Markers with Cricut Joy.
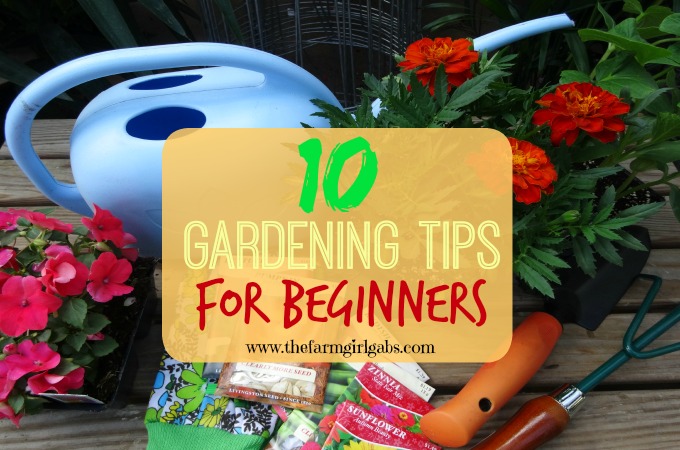
Check Out These Gardening Ideas
How To Plant A Vegetable Garden

DIY Wood Slice Garden Markers with Cricut Joy
Decorate your garden using DIY Wood Slice Garden Markers with Cricut Joy. You can label your plants, including flowers, fruits, and vegetables using these homemade markers.
Materials
- Cricut Joy
- Cricut Smart Vinyl, Permanent in Beachside Sampler
- Cricut Transfer Tape
- Weeder
- Scissors
- Wood slices, 2.25” diameter
- Wooden skewers
- Drill
Instructions
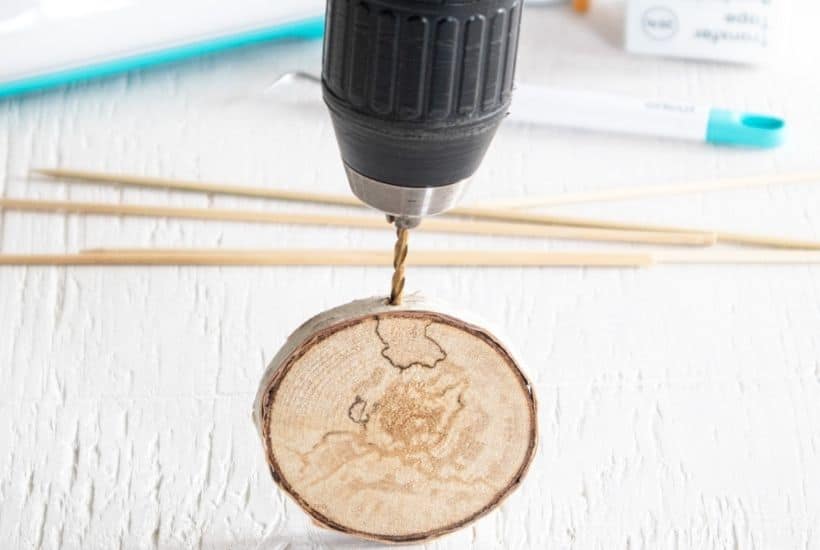
- Using a drill bit the same size as the wooden skewer, prepare the wood slice by drilling one small hole into the slice as shown

- Insert a wooden skewer into the drilled hole. Repeat with all wood slices and put aside.
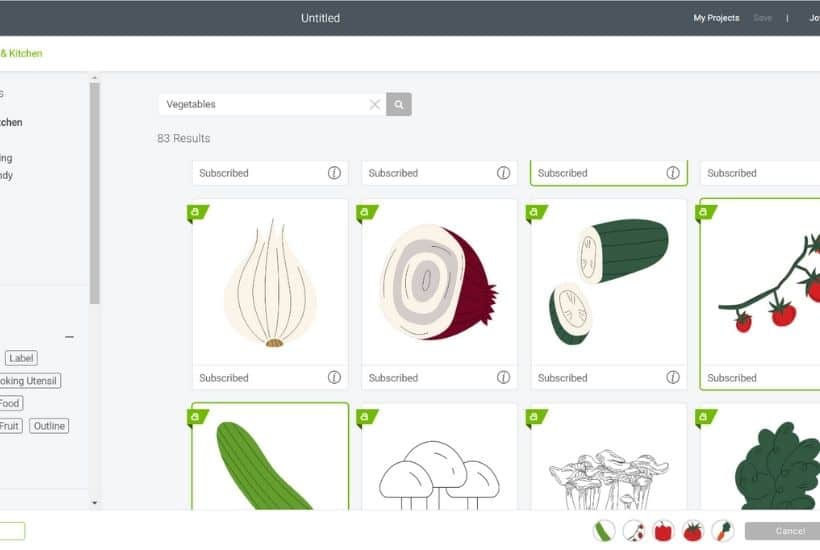
- On a new canvas in Cricut’s Design Space, select Images from the toolbar.
- Click on the Food and Kitchen theme and then type “vegetables” in the search engine.
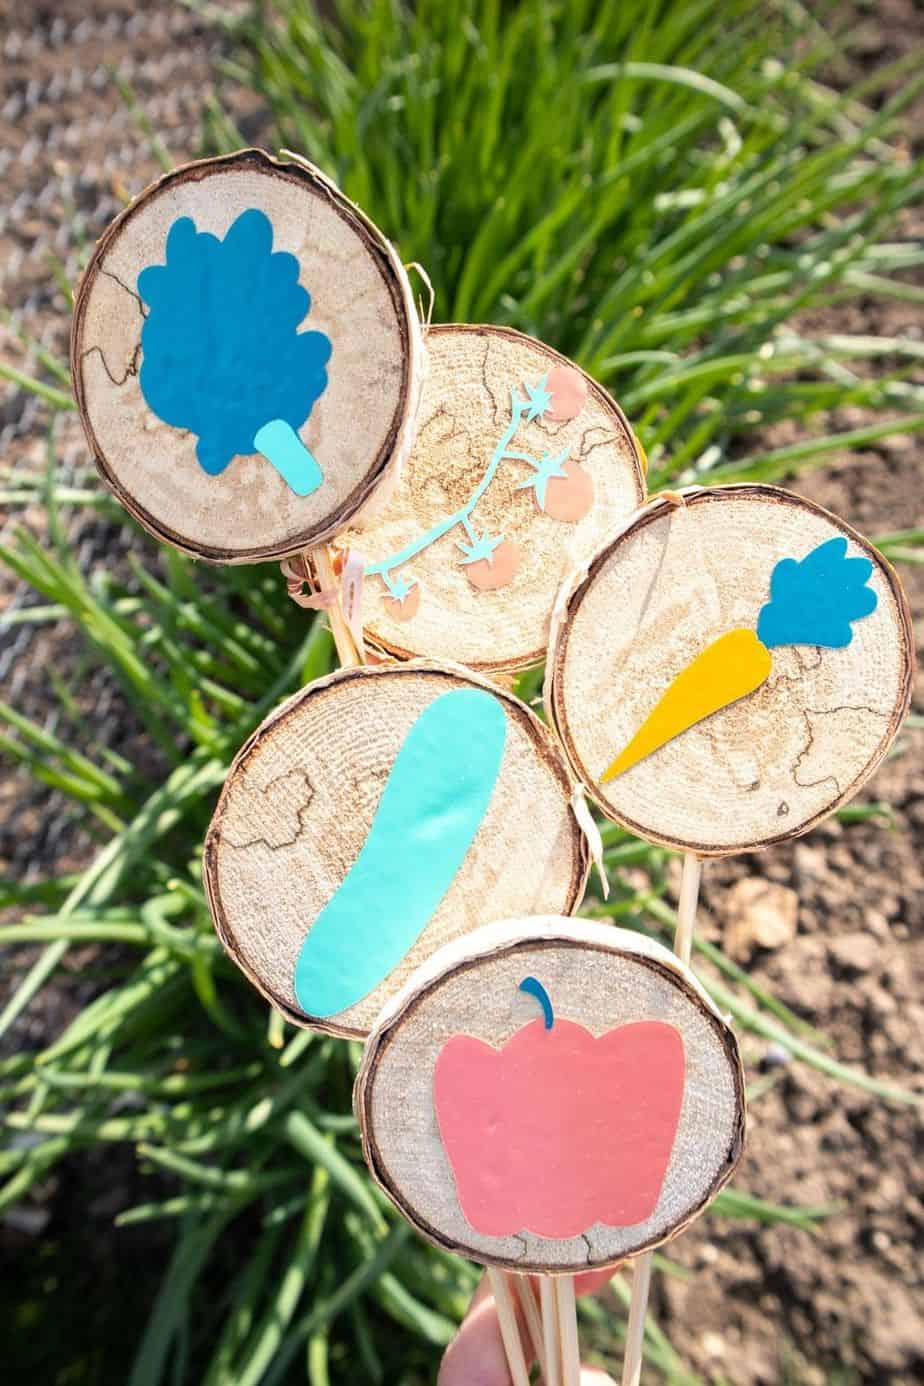
- Select the vegetable images you want to use, such as tomatoes, lettuce, carrots, peppers, cucumbers.
- Insert the vegetable images onto the blank canvas.
- Select the image and hide all the drawing lines from the layers toolbar.
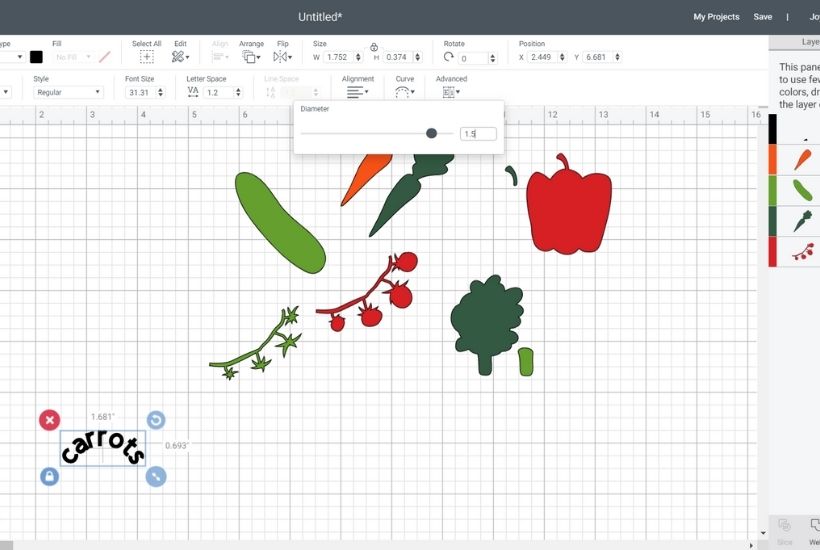
- Select the image again and adjust the size to 2” high (or wide), whichever side is biggest.
- Select one image and then click on “Ungroup”. If the image is still attached, click on the “detach” button. This will separate the image pieces into their own layer.
- Move to the Color Sync tab to sort images by color of Smart Vinyl: cut carrot in tangerine; cut cucumber and leafy portion of carrot and tomatoes in mint; cut lettuce in teal; cut tomatoes and peppers in coral.
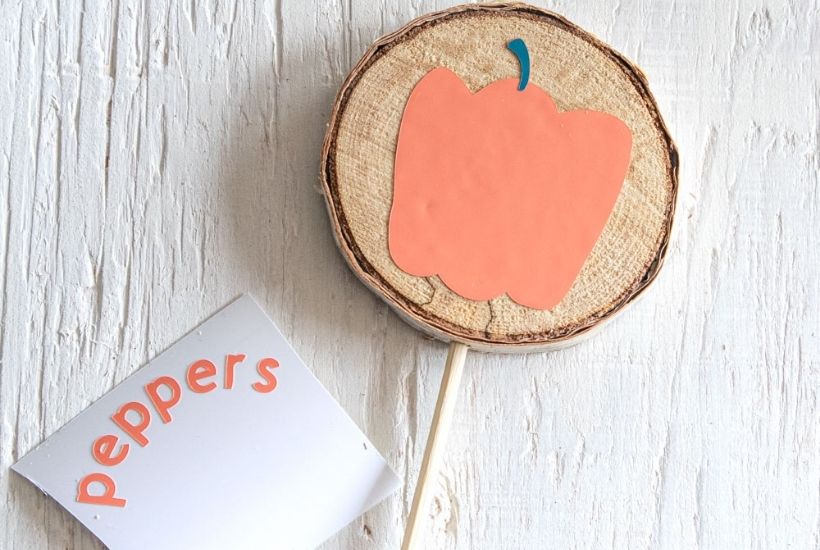
- Add text for the back side of the garden markers.
- Select Text from the toolbar and type out the vegetable: carrots.
- Adjust text size to 0.375” high.
- Adjust the curve to 1.5.
- Adjust the letter spacing to 1.8.
- Weld the lettering together and move the text layer to the appropriate color sync layer (for example “carrots” to be cut out in tangerine Permanent Smart Vinyl).
- Ensure the cutting machine is set to Cricut Joy. Select “Make It” in Design Space.
- Set material type to Smart Vinyl, Permanent.
- Choose “No Mat” from the list of cutting options.
- Follow prompts for loading Smart Vinyl into Cricut Joy and cutting. When the cut is complete, unload the mat from the machine.
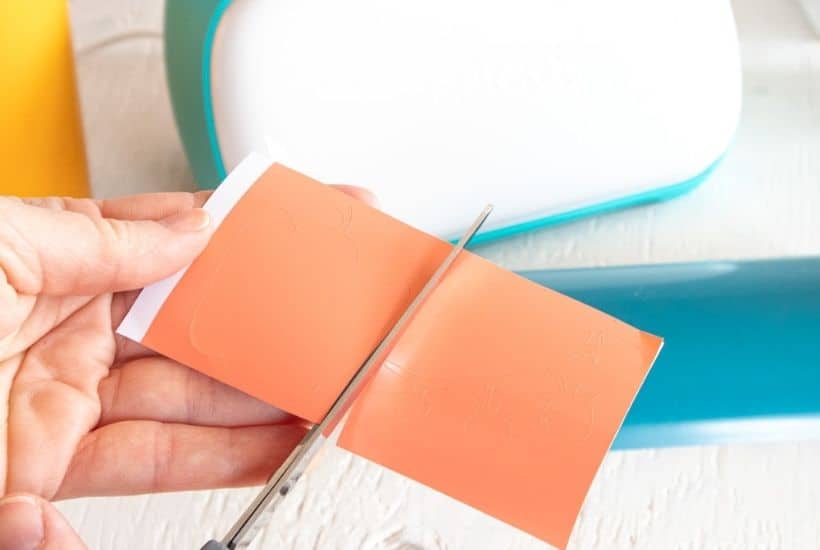
- Cut around each image and lettering with a pair of scissors. Using the weeding tool, peel away the excess vinyl around the cut images (and lettering) and discard.
- Cut a piece of transfer tape a bit larger than the size of the image.
Peel away the transfer tape backing and place the transfer tape overtop of the cut vinyl. Gently rub the vinyl to help it stick to the transfer tape. - Peel away the vinyl backing, leaving just the image adhered to the transfer tape.
- Position the image with the transfer tape on to the center of the wood slice and press in place.
- Press the Smart Vinyl image down with your fingers or with the Cricut scraping tool to help it to stick to the wood slice.
- Slowly and carefully remove the transfer tape leaving the vinyl image on the wood.
- Repeat with the lettering on the reverse side of the wood slice.
- And continue these same steps for the remaining garden markers.


Wow, looks like fun!
OMG it looks cool
Can you be more specific about the content of your article? After reading it, I still have some doubts. Hope you can help me.