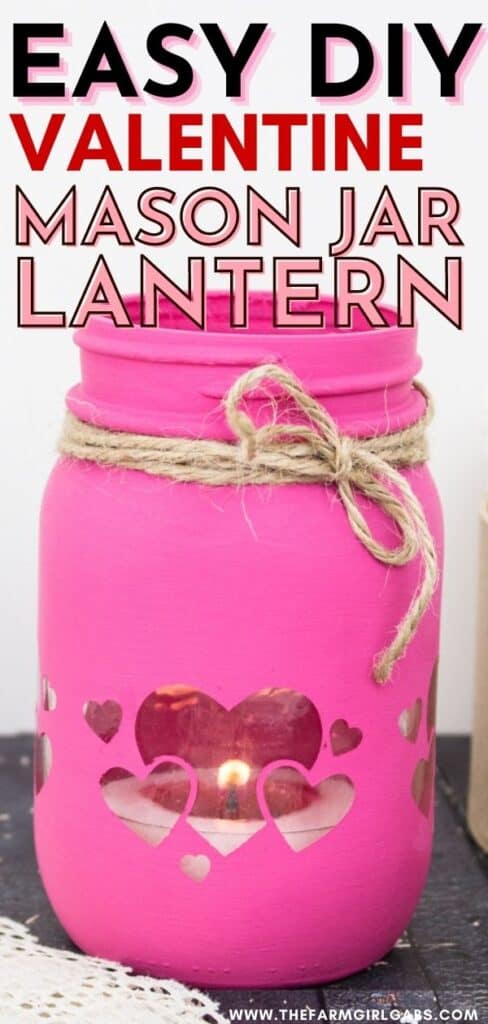
Painted Mason Jar Valentine Lantern


Grab some chalk paint and transform a mason jar into these Painted Mason Jar Valentine Lantern. This is an easy DIY Valentine’s Day Cricut craft.
This post may contain affiliate links. We may receive a commission if you click and purchase something. Please see our disclosure policy for more details.Painted Mason Jar Valentine Lantern
Do you have any extra mason jars hanging around the house? If so, why not make an easy Painted Mason Jar Valentine Lantern to add to your Valentine’s Day decor? As you probably already know, I love mason jars!
They are so versatile and can be used for practically anything – from canning to decorating. Creating mason jar craft projects are also a great way to use up any extra craft supplies. I happened to have extra chalk paint but you can use regular acrylic paint too.
I used my Cricut machine to make these mason jar lanterns, but if you don’t have one, you can use heart stencils instead.
Here is how to make these chalk paint mason jar votives with Cricut Heart cut-outs.
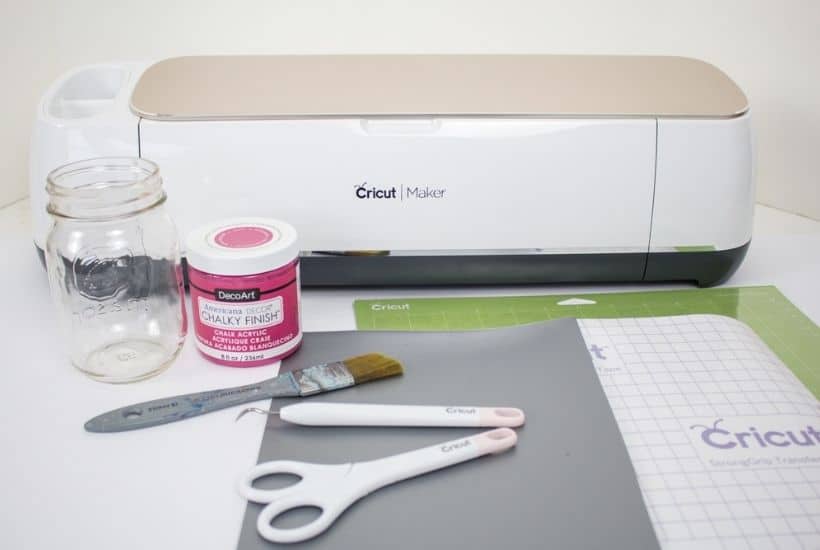
Painted Mason Jar Valentine Lantern Supplies:
Cricut Design Space Heart Silhouettes Template #MBFF673F
Cricut Maker with Fine Point Blade
Cricut Premium Removable Vinyl, (in any color as it will be discarded)
Scissors
DecoArt Americana Chalky Finish Chalk Paint in Reminisce
Paintbrush
Twine
Votive candle
How To Make A Valentine Mason Jar Lantern:
Wash jars with soap and hot water and let them dry completely before using.
On a blank Design Space canvas, select images and type #MBFF673E to insert the Heart Silhouette images on to your canvas. Resize the heart silhouettes to 2.25″ wide. Duplicate the heart images two times to have a total of three.

Select “Make It” in Design Space. Set material type to Premium Vinyl.
Follow prompts for loading mat into Maker and cutting the premium vinyl. When cut is complete, unload mat from the Maker. Remove the premium vinyl from the mat.
Cut around each heart silhouette image with a pair of scissors. Using the weeding tool, peel away the excess vinyl around the vinyl-cut images and discard. Cut a piece of transfer tape a bit larger than the size of the silhouette heart image.
Peel away the transfer tape backing and place the transfer tape over top of the vinyl image. Gently rub the vinyl to help it stick to the transfer tape.
Peel away the Premium Vinyl backing, leaving the hearts adhered to the transfer tape.
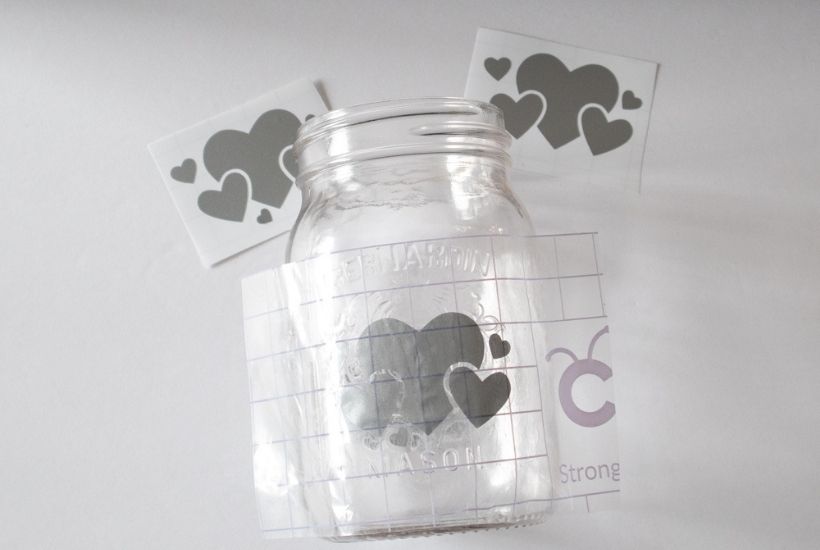
Working on one side at a time, position the hearts and transfer tape onto the smooth side of a mason jar and press in place just below the middle of the jar. Press the vinyl hearts down with your fingers or with the Cricut scraping tool to help it to stick to the glass jar.
Slowly and carefully remove the transfer tape leaving the vinyl heart design on the jar.
Similarly, position the other vinyl hearts on two other flat sides of the mason jar and repeat above steps for removing the transfer tape. I opted to apply three heart designs in total, leaving the textured side of the jar untouched.
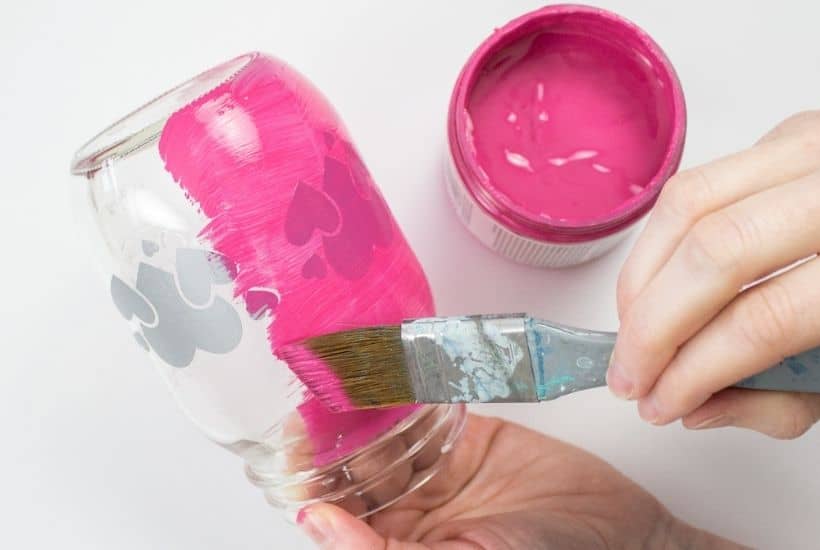
Using a medium sized paintbrush, apply Americana Chalky Finish in Reminisce over the surface of the jar including the vinyl hearts. Allow it to fully dry before applying a second coat of paint.
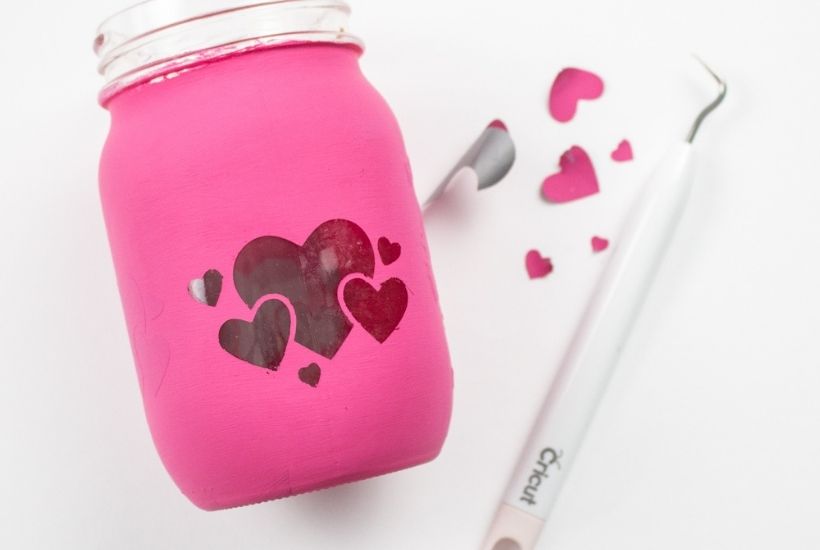
Once dry, use the weeding tool to pick away and peel off the vinyl heart shapes and discard.
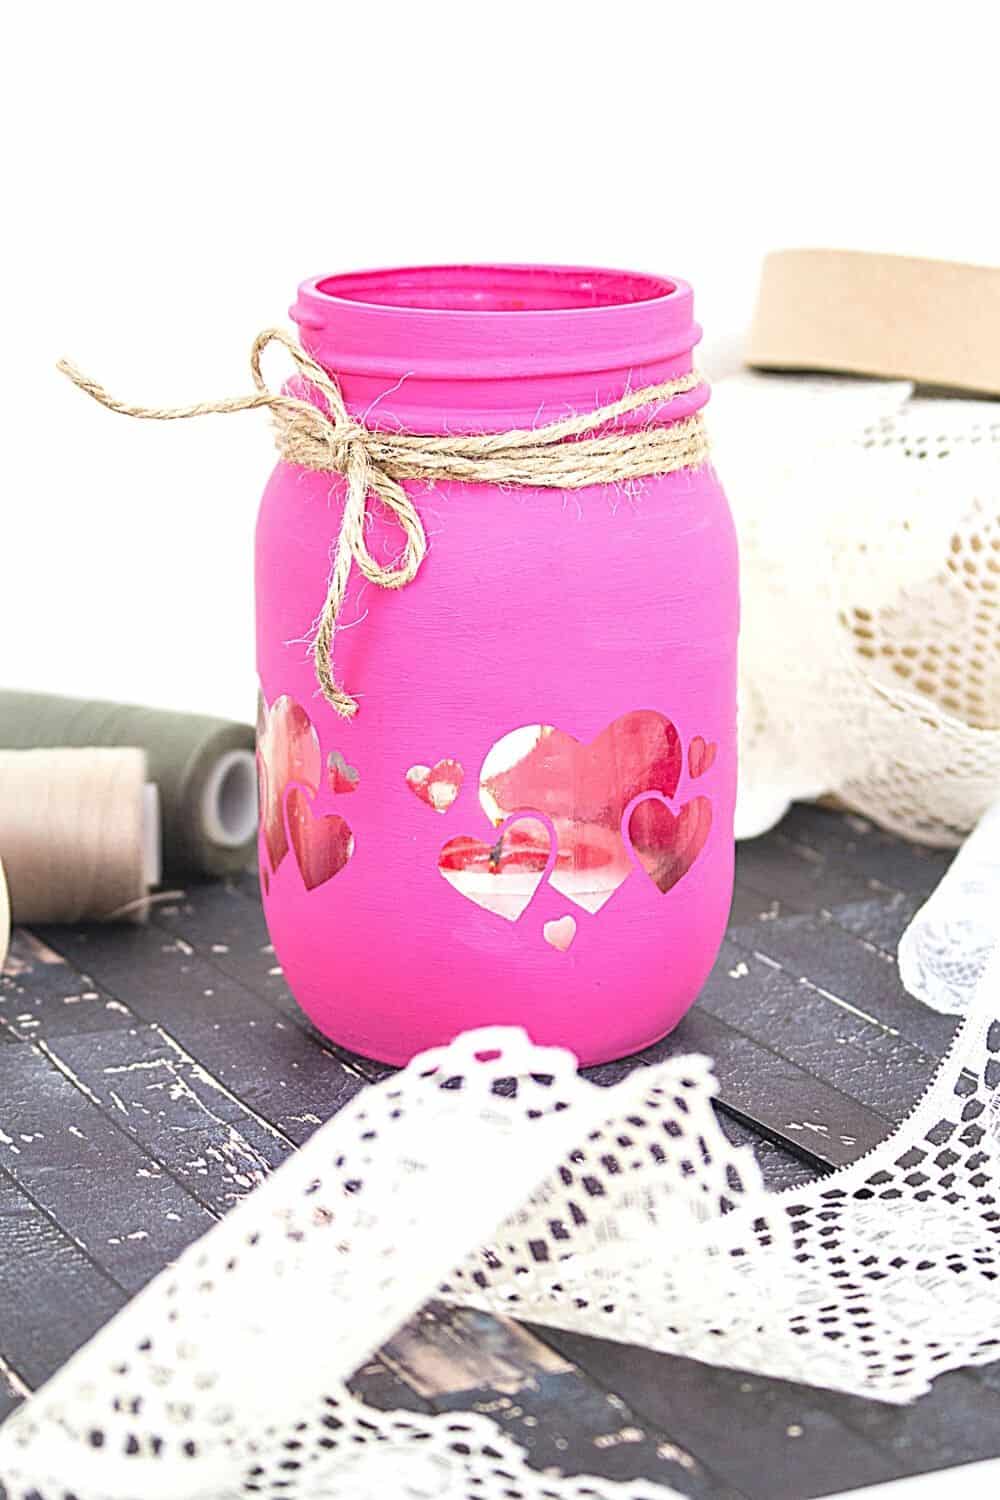
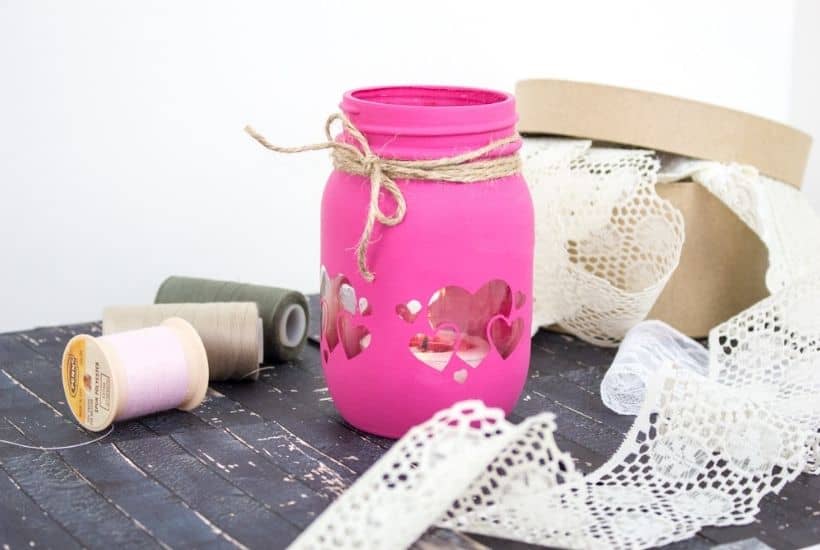
To finish, tie a piece of twine around the neck of the mason jar. Fill the jar with a votive candle.
More Fun Valentine’s Day Ideas
Printable Star Wars Valentine’s
Free Printable Baby Yoda Valentines
Save this easy DIY Mason Jar craft for later. Pin the image below to your favorite Pinterest board.

Painted Mason Jar Valentine Lantern
Materials
- Cricut Design Space Heart Silhouettes Template #MBFF673F
- Cricut Maker with Fine Point Blade
- Standard grip mat
- Cricut Premium Removable Vinyl, (in any color as it will be discarded)
- Cricut Transfer Tape
- 16 ounce Mason Jars with lid
- Scissors
- Weeding Tool
- DecoArt Americana Chalky Finish Chalk Paint in Reminisce
- Paintbrush
- Twine
- Votive candle
Tools
Instructions
- Wash jars with soap and hot water and let them dry completely before using.
- On a blank Design Space canvas, select images and type #MBFF673E to insert the Heart Silhouette images on to your canvas.
- Resize the heart silhouettes to 2.25″ wide.
- Duplicate the heart images two times to have a total of three.
- Select “Make It” in Design Space. Set material type to Premium Vinyl.
- Follow prompts for loading mat into Maker and cutting the premium vinyl. When the cut is complete, unload mat from the Maker. Remove the premium vinyl from the mat.
- Cut around each heart silhouette image with a pair of scissors. Using the weeding tool, peel away the excess vinyl around the vinyl-cut images and discard.
- Cut a piece of transfer tape a bit larger than the size of the silhouette heart image. Peel away the transfer tape backing and place the transfer tape over top of the vinyl image. Gently rub the vinyl to help it stick to the transfer tape.
- Peel away the Premium Vinyl backing, leaving the hearts adhered to the transfer tape.
- Working on one side at a time, position the hearts and transfer tape onto the smooth side of a mason jar and press in place just below the middle of the jar.
- Press the vinyl hearts down with your fingers or with the Cricut scraping tool to help it to stick to the glass jar. Slowly and carefully remove the transfer tape leaving the vinyl heart design on the jar.
- Similarly, position the other vinyl hearts on two other flat sides of the mason jar and repeat the above steps for removing the transfer tape. I opted to apply three heart designs in total, leaving the textured side of the jar untouched.
- Using a medium-sized paintbrush, apply Americana Chalky Finish in Reminisce over the surface of the jar including the vinyl hearts. Allow it to fully dry before applying a second coat of paint.
- Once dry, use the weeding tool to pick away and peel off the vinyl heart shapes and discard.
- To finish, tie a piece of twine around the neck of the mason jar. Fill the jar with a votive candle.
Notes
If you don't have a Cricut machine, you can use a pre-made heart stencil instead. Adhere the stencil to the jar and then paint.


Wow that was odd. I just wrote an incredibly long comment but after I clicked submit
my comment didn’t appear. Grrrr… well I’m not writing all that over
again. Anyhow, just wanted to say great blog!
Yesterday, while I was at work, my cousin stole my apple ipad and
tested to see if it can survive a 25 foot drop, just so she can be a
youtube sensation. My iPad is now broken and she has 83 views.
I know this is completely off topic but I had to share it with someone!