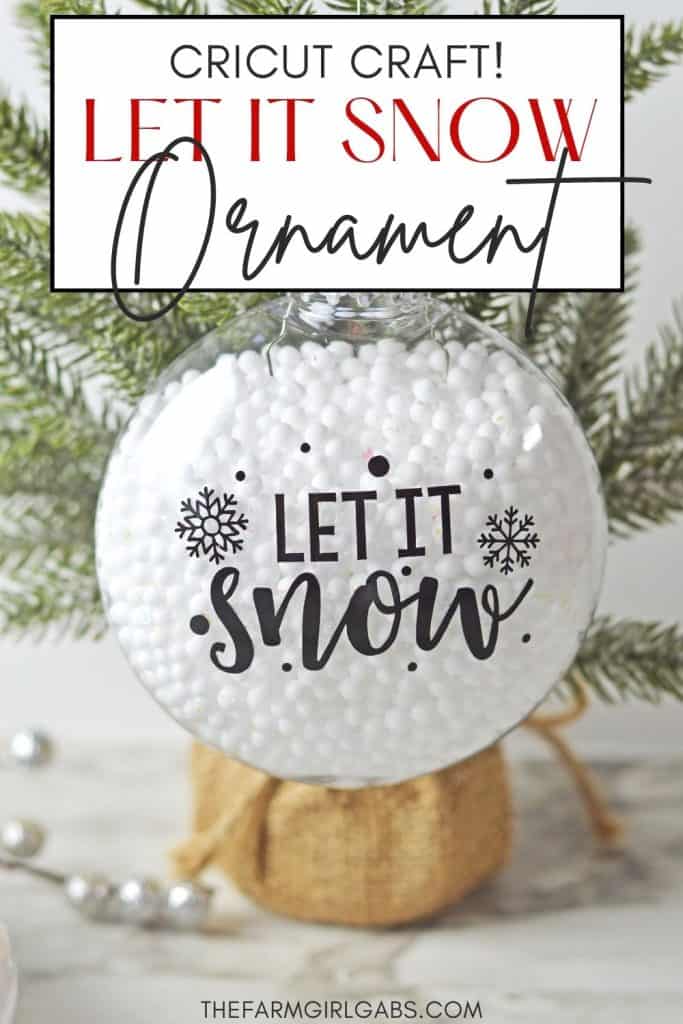
Let it Snow Ornament


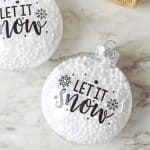


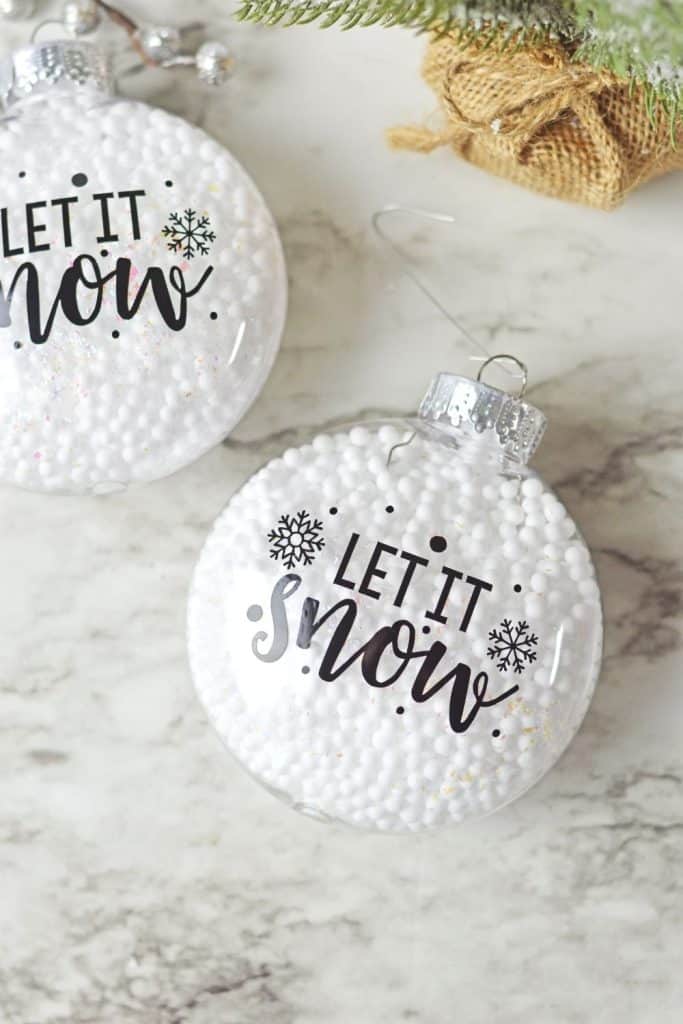
Who says you need the most expensive ornaments to make your Christmas tree look amazing? Learn how to easily create the most beautiful Let It Snow Ornament to hang on the tree or give as a gift.
This post may contain affiliate links. We may receive a commission if you click and purchase something. Please see our disclosure policy for more details.
How To Make A Let It Snow Ornament
What is one thing you look forward to during the holiday season? For most people, it’s the idea of watching the snowfall while sitting by the fire and sipping on a cup of hot cocoa. If this is something you enjoy, you will absolutely adore this Let It Snow Ornament.
Not only does it look good, but it’s a fun little craft you can complete alone or with friends and family. If you’re looking for a way to make your tree look better without spending a fortune, give this ornament a try. Once you make one, you will want to keep making more to add to the tree branches!
The Benefits of Making a Let It Snow Ornament
- You can save money by creating beautiful ornaments at home instead of buying costly ones from the store.
- These ornaments will look great on your tree, really bringing it to life and giving it that extra special touch that you and your family will love.
- You can get as creative as you’d like and let everyone create their own version of these ornaments to hang on your Christmas tree.

What You’ll Need to Create a Let It Snow Ornament
If you want to create these stunning ornaments that look like they’re filled with snow, you will need:
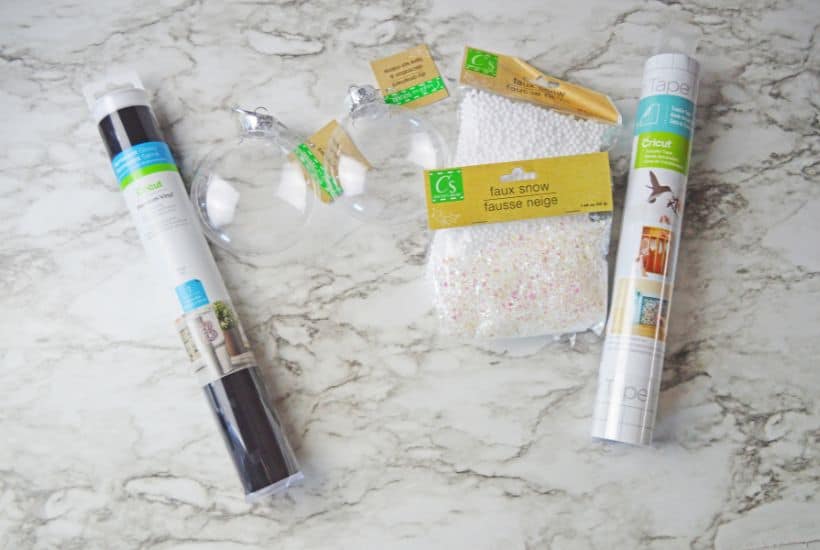
- Round Fillable Ornament – Start with the round, fillable ornament, which you may be able to find at your local Dollar Tree.
- Faux Snow Filler Balls – Another great find at Dollar Tree, these balls are a must-have to get that snowy appearance inside your ornament.
- Faux Snow Filler Glitter Flakes – These are another essential component to making these ornaments that you can easily find in the Dollar Tree.
- Let It Snow SVG File – Use the file to create the perfect printable sticker to attach to your ornament. You can download the FREE SVG here.
In addition to these supplies, you will need the following craft supplies:
Cricut Ornament Craft Supplies
- Cricut Machine
- Transfer Tape
- Black Permanent Adhesive Vinyl
- Scraper
- Weeding Tool
- FREE Let It Snow SVG (Download Here)
How long will it take to make these ornaments?
It should only take around 30 minutes to prepare two ornaments. If you have more helping hands on board and plenty of supplies available, you can make additional ornaments within the same amount of time.
Can I use different colors for the Let It Snow text?
Of course! If you don’t want the text to be white, you can feel free to change it and use a different color of vinyl, such as red, green, silver, or even blue. It all depends on the specific theme you’re going for with the decorations you plan to use around the home this holiday season.
What if I can’t find some of the supplies at Dollar Tree?
If your local Dollar Tree doesn’t have these supplies, you can always check online and possibly order them from Amazon or a craft store.
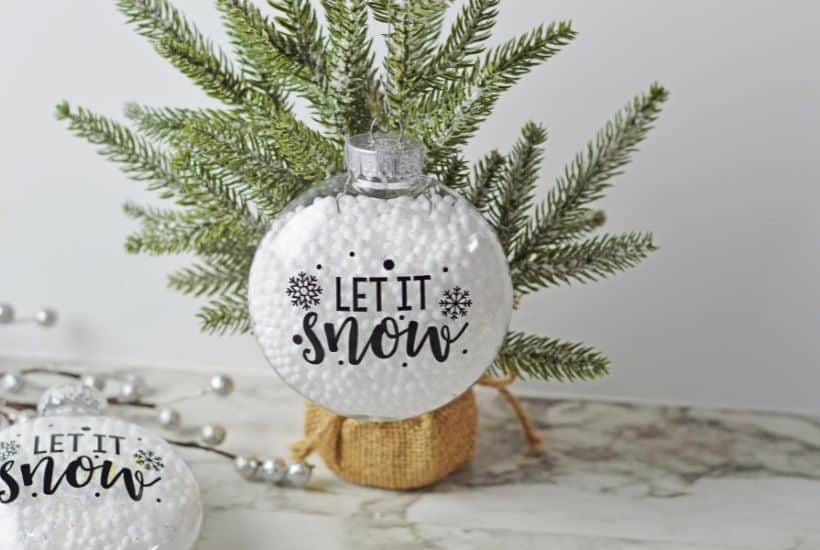
Save big this holiday season while making memories and creating something special with this Let It Snow Ornament tutorial!
Try These Easy DIY Christmas Ornament Ideas
- Lottery Ticket Ornament
- Mickey Mouse Ornament
- DIY Gnome Ornament
- Ribbon Tree Ornaments
- Disney UP Ornament

Let It Snow Ornament
Who says you need the most expensive ornaments to make your Christmas tree look amazing? Learn how to easily create the most beautiful Let It Snow Ornament to hang on the tree or give as a gift. This DIY Ornament is an easy holiday Cricut Craft Idea. It is a great homemade Christmas gift craft idea.
Materials
- Flat round fillable ornament
- 1 package of faux snow filler balls (dollar tree)
- ½ package of faux snow filler glitter flakes (dollar tree)
- Black permanent adhesive vinyl
- Transfer tape
- Let It Snow SVG file
- Scraper
- Weeding Tool
- Scissors
Instructions
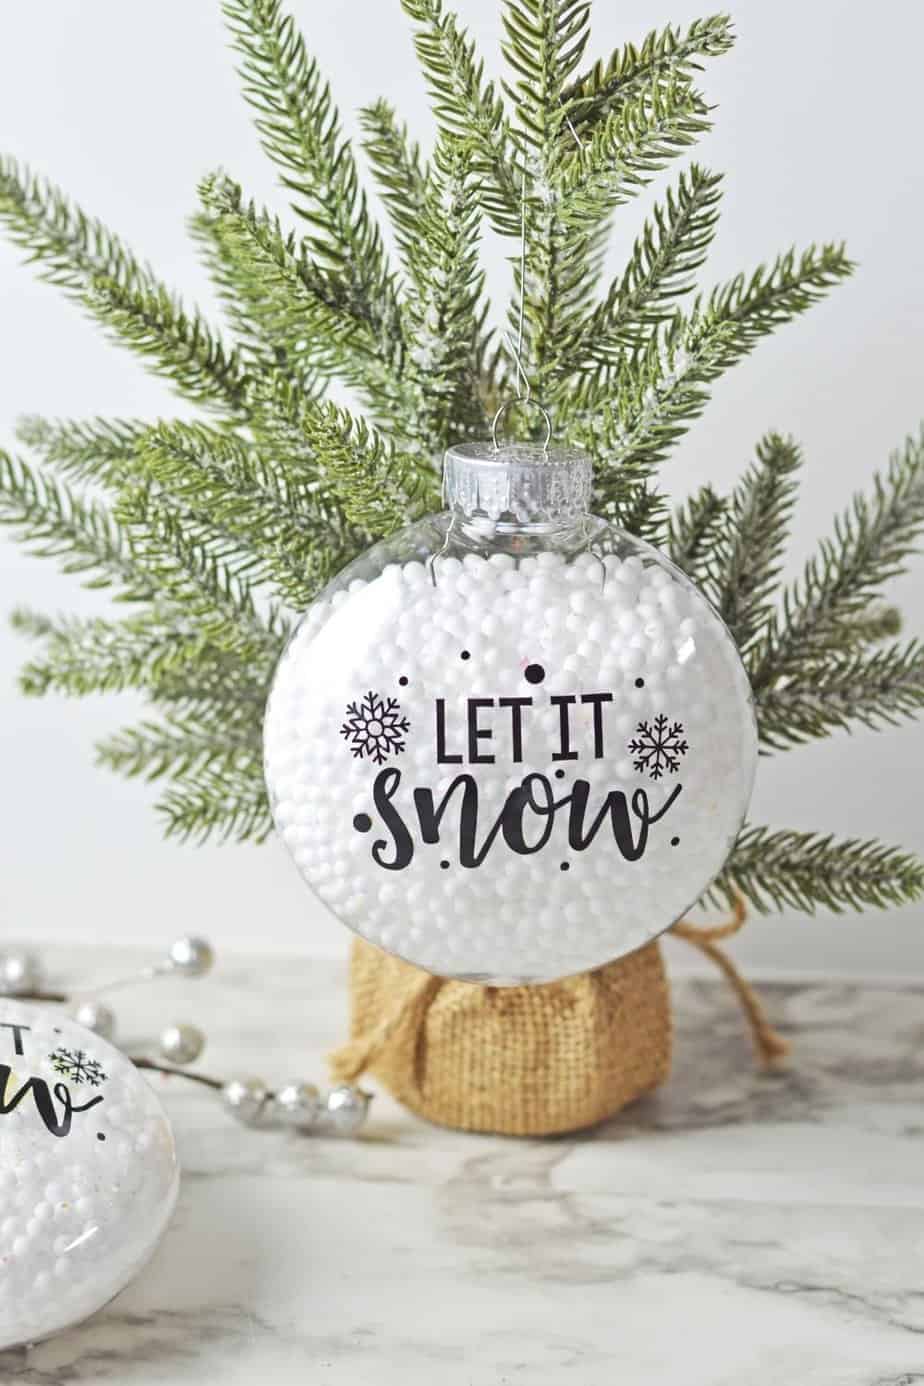
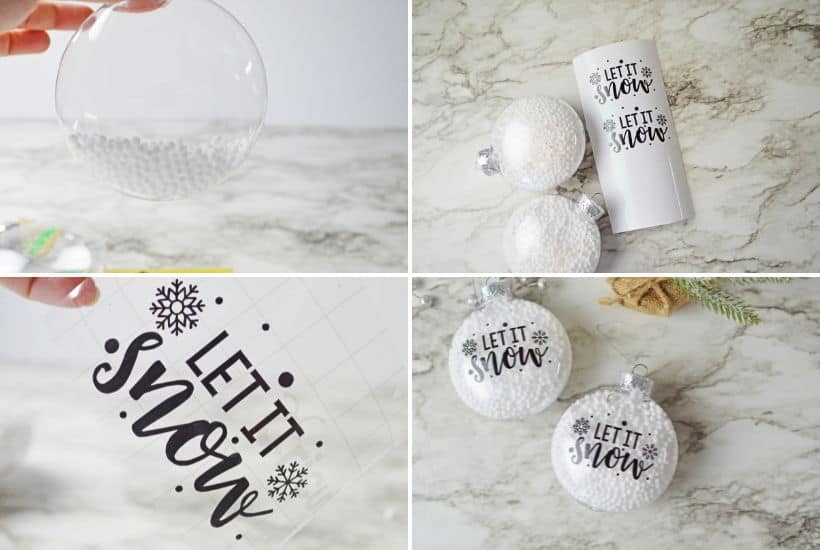
- To make this ornament, start by layering the faux snow filler into your fillable ornament. We alternated the balls and the glitter flakes, then shook everything together to disperse.
- For the vinyl, open your SVG file in your cutting software and resize, ensuring that you have it sized correctly for the ornaments you are using. Our ornaments were 3x3 so I resized the SVG to approx. 2.5 inches wide. Make sure that the aspect ratio is locked when you resize so the design holds its dimensions.
- For two ornaments, add two copies of the design and resize your design area, if necessary.
- Cut a piece of vinyl to fit one design, or two, if you are doing two.
Adhere the vinyl to your cutting mat and load it into the machine. - Check your cut settings, use the settings recommended from your machine for permanent vinyl.
- Cut out your SVG, then weed out all of the excess vinyl, careful to weed the inside of the letters and snowflakes, as well.
- Cut a piece of transfer tape to fit the design.
- Adhere the transfer tape to the front of the cut vinyl, using a scraper or something similar to smooth everything out and adhere the vinyl to the transfer tape.
- Position the vinyl onto your ornament, doing your best to make it centered how you want it.
- Use your scraper to lightly scrape over the vinyl pieces under the transfer tape, so that they adhere to the ornament.
- Remove the transfer tape.