Sleeping Beauty Pumpkin
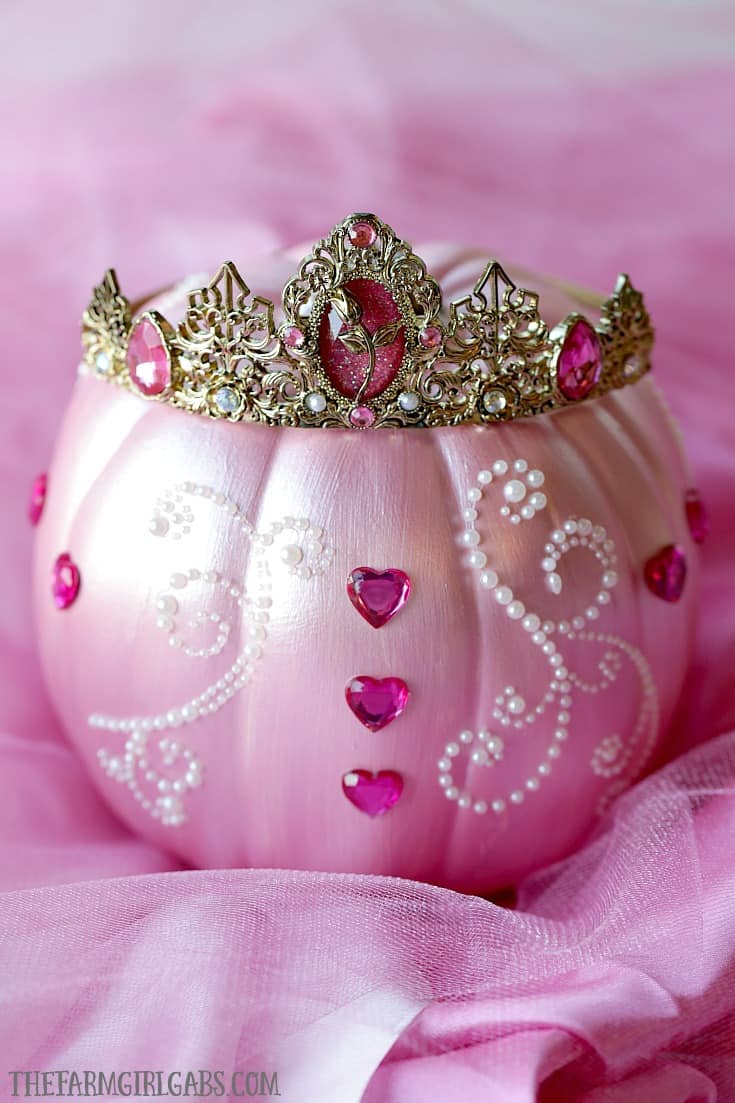
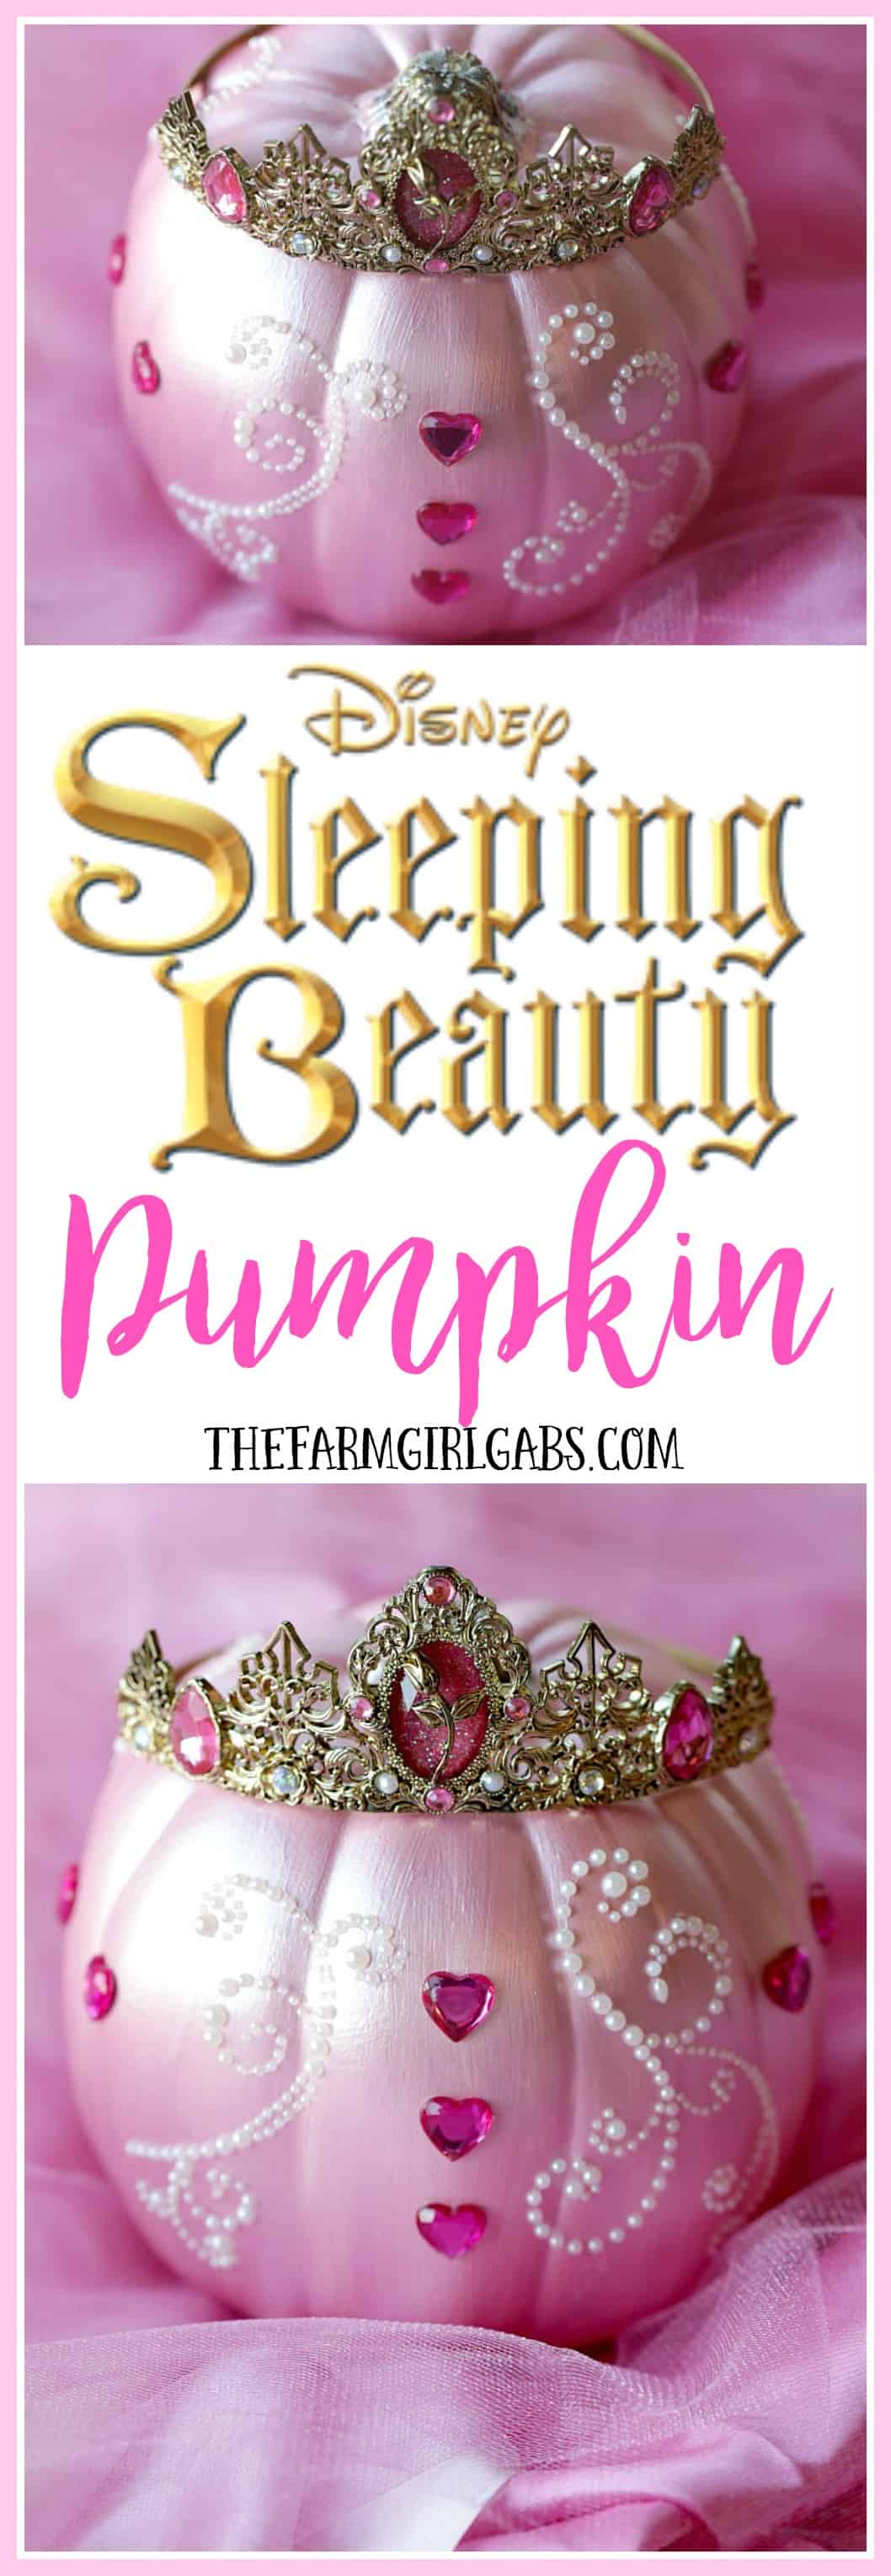
Turn an ordinary pumpkin into this beautiful DIY Painted Sleeping Beauty Pumpkin. This Disney-inspired craft is something your little princess will enjoy creating for Halloween.
So, have you settled into the fall frenzy yet? Breathe. It’s ok. This fantastically fun time of year can get a little frantic. But Halloween is on the horizon. I feel that now that we have finally flipped that calendar to September, it’s perfectly fine to “officially” start sharing some fun Disney-inspired Halloween crafts with you.
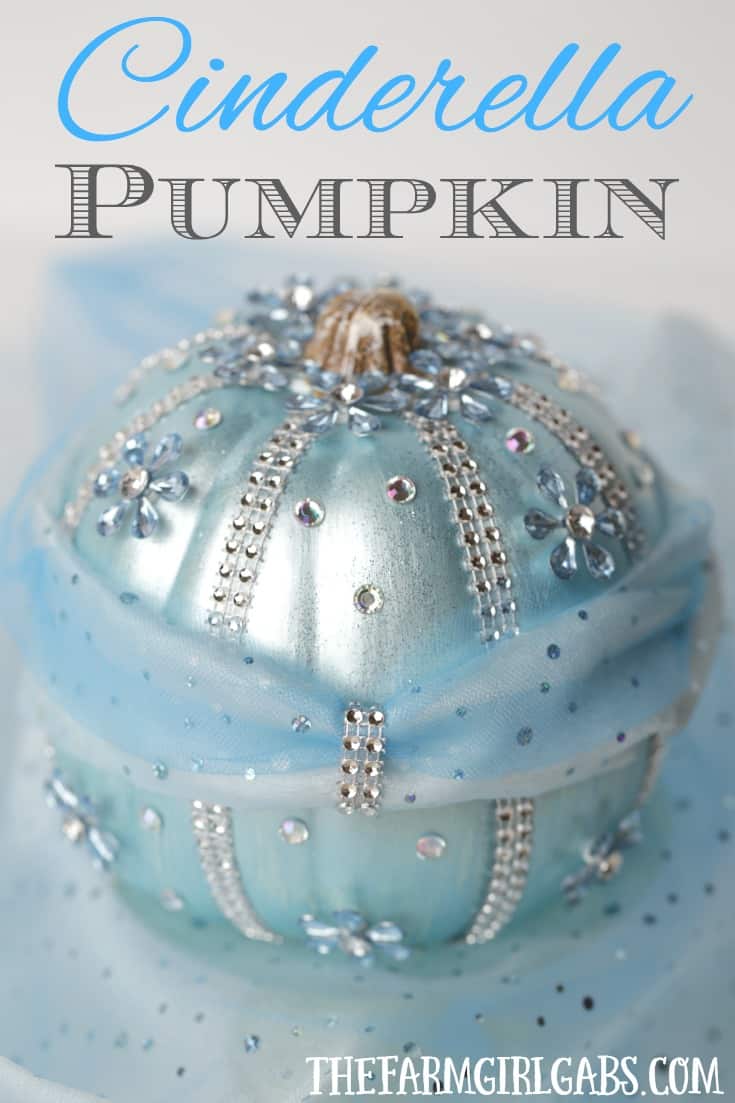
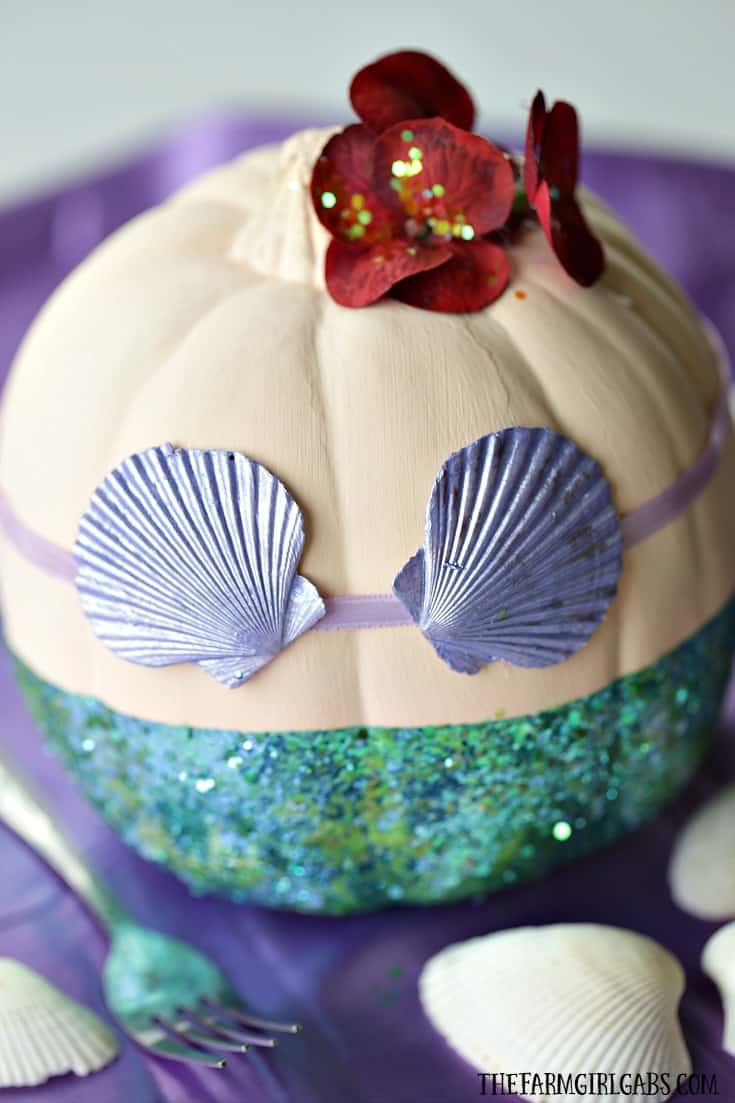
I am a little obsessed with creating these fun Disney-inspired pumpkins. I love the Disney Princesses. You may remember The Little Mermaid Pumpkin I shared with you a few weeks ago, or the Cinderella Pumpkin last year. I put my creative cap on this week and created this adorable Sleeping Beauty Pumpkin to add to the collection.
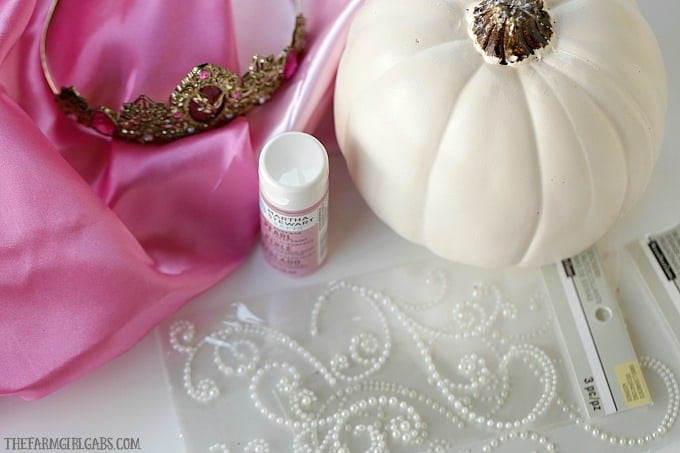
Supplies Needed To make your own Sleeping Beauty Pumpkin:
- White carvable pumpkin
- Pink pearl acrylic paint
- Sleeping Beauty Tiara
- Pearl and heart embellishments
.
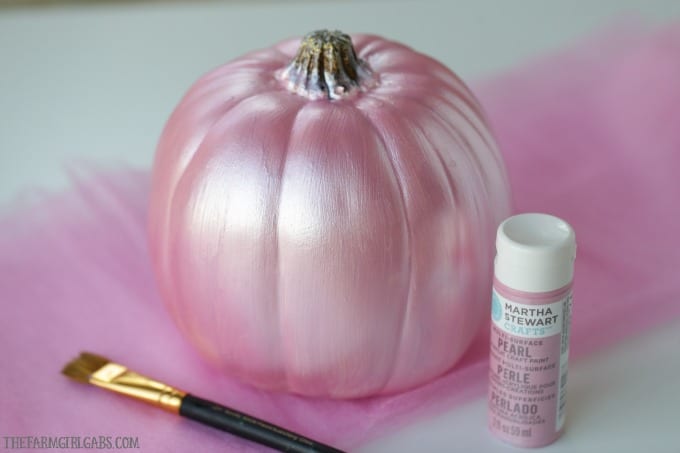
After you let your pumpkin dry (don’t you find painting soothing?), add some pearl embellishments around the perimeter.
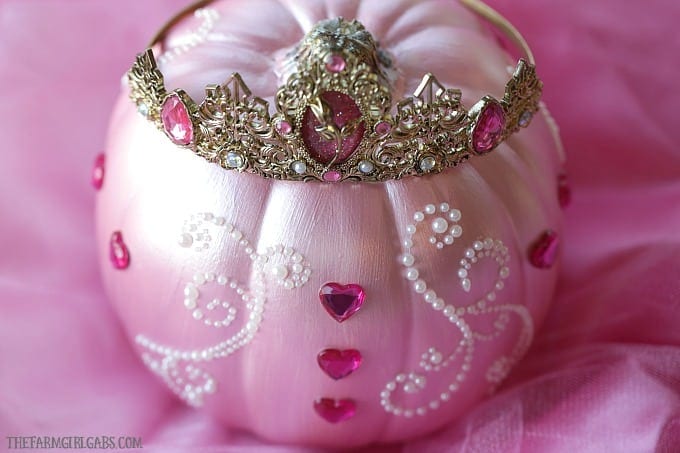
The final step is to add Sleeping Beauty’s tiara to the top of the pumpkin. You can either glue or pin in place to secure.
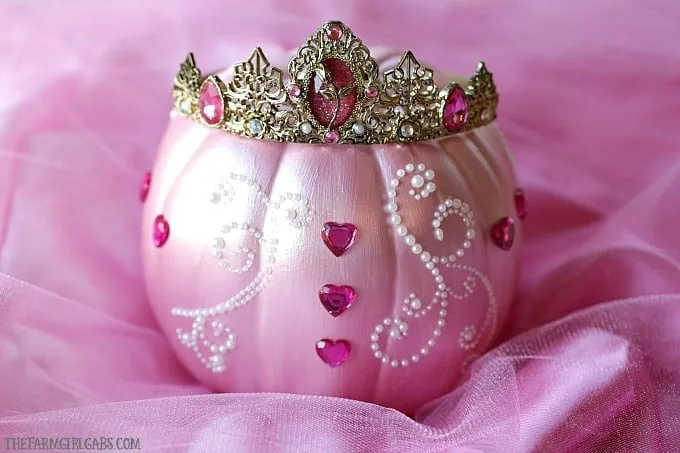
Sleeping Beauty was always Gabrielle’s favorite Disney Princess. I was going through some old photos of past trips to Walt Disney World the other day. My how time flies. Even though she’s off at college in Boston, her love of Disney and Aurora is still going strong (just like her mama)! So it’s only fitting that I created this simple DIY project to celebrate the Halloween season.
Happy Crafting!
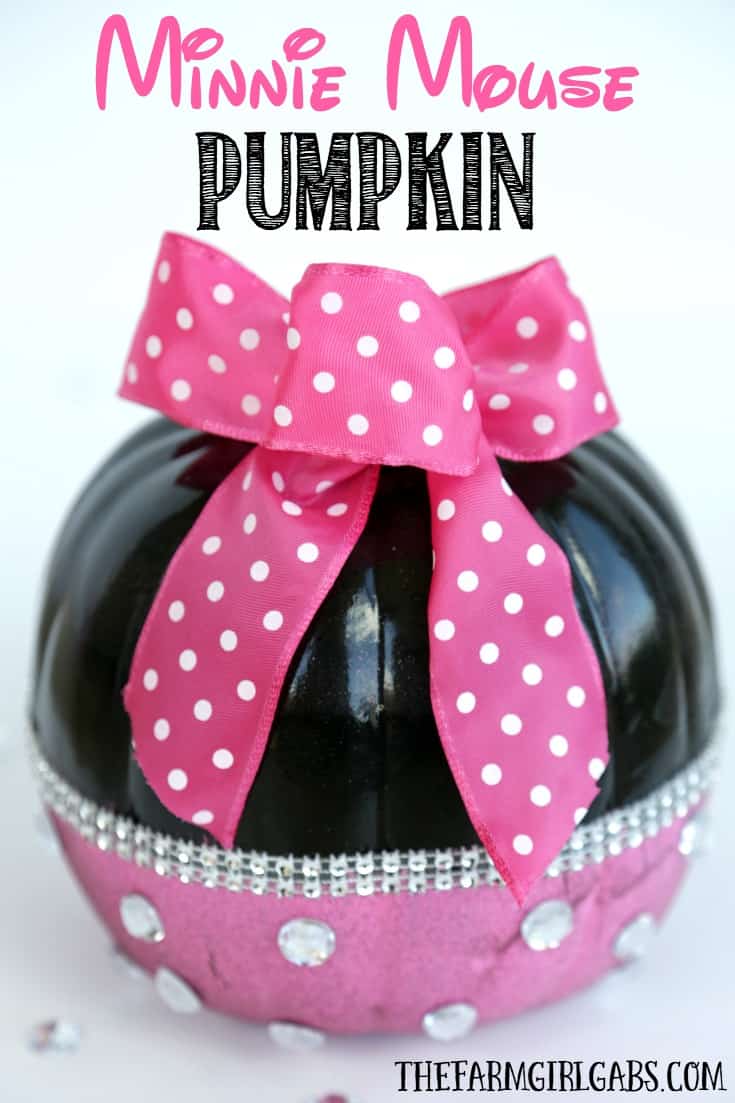
Here are more Disney Pumpkins that you can make!

Fantastic web site. A lot of useful info here. I am sending it to several friends ans also sharing in delicious. And naturally, thanks for your effort!
Very interesting points you have remarked, thankyou for posting. “The thing always happens that you really believe in and the belief in a thing makes it happen.” by Frank Lloyd Wright.
Wow, wonderful blog layout! How long have you been running a blog for? you made blogging look easy. The overall look of your website is fantastic, let alone the content!
PrimeBiome is a dietary supplement designed to support gut health by promoting a balanced microbiome, enhancing digestion, and boosting overall well-being.
I discovered your blog site on google and check a few of your early posts. Continue to keep up the very good operate. I just additional up your RSS feed to my MSN News Reader. Seeking forward to reading more from you later on!…
Once I initially commented I clicked the -Notify me when new feedback are added- checkbox and now each time a remark is added I get 4 emails with the identical comment. Is there any manner you’ll be able to remove me from that service? Thanks!
I got good info from your blog
After examine a number of of the weblog posts in your web site now, and I actually like your means of blogging. I bookmarked it to my bookmark website record and might be checking again soon. Pls check out my web site as properly and let me know what you think.
The Natural Mounjaro Recipe is more than just a diet—it’s a sustainable and natural approach to weight management and overall health.
Perfectly written articles, thankyou for selective information.
The Natural Mounjaro Recipe is more than just a diet—it’s a sustainable and natural approach to weight management and overall health.
You really make it seem so easy with your presentation but I find this topic to be really something that I think I would never understand. It seems too complex and very broad for me. I’m looking forward for your next post, I’ll try to get the hang of it!